
Use the Mailchimp integration to add customers to a Mailchimp audience when they buy a product. You can also remove customers from an audience, for example when they ask for a refund.
Mailchimp is available in PublishPress Cart Free and Pro.
Before you start #
You need:
- A Mailchimp account with at least one audience.
- A Mailchimp API key.
Step 1: Get your Mailchimp API key #
- Log in to Mailchimp.
- Open your profile menu, then go to Profile → Extras → API keys.
- Click Create A Key.
- Copy the new API key.
Step 2: Connect Mailchimp to Cart #
- In WordPress, go to Cart → Settings → Integrations.
- On the Mailchimp card, click Configure.
- Paste the key into Mailchimp API Key.
- Click Save changes.
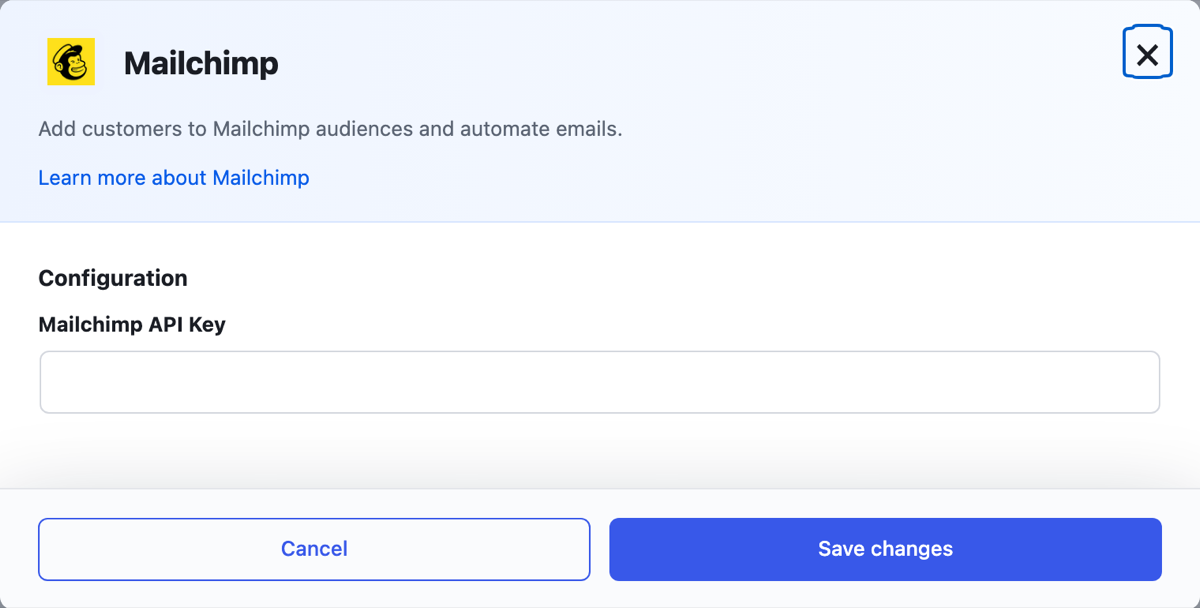
MailChimp shows in the product Service list after you save the key.
When you save the key, Cart loads your groups and tags from Mailchimp. Cart loads your audiences when you open a product Integrations tab.
Step 3: Add the integration to a product #
- Go to Cart → Products and open a product.
- Open the Integrations tab.
- Click + Add integration.
- In Service, select MailChimp.
- In Trigger, select the event that runs the integration, for example Product purchased.
- In Action, select Add contact or Remove contact.
- In Mailchimp list, select the audience.
- Optional: select one or more Mailchimp tags and Mailchimp groups.
- Optional: in Phone merge tag, enter the merge tag of your phone field in Mailchimp, for example
PHONE. - Click Publish or Update.
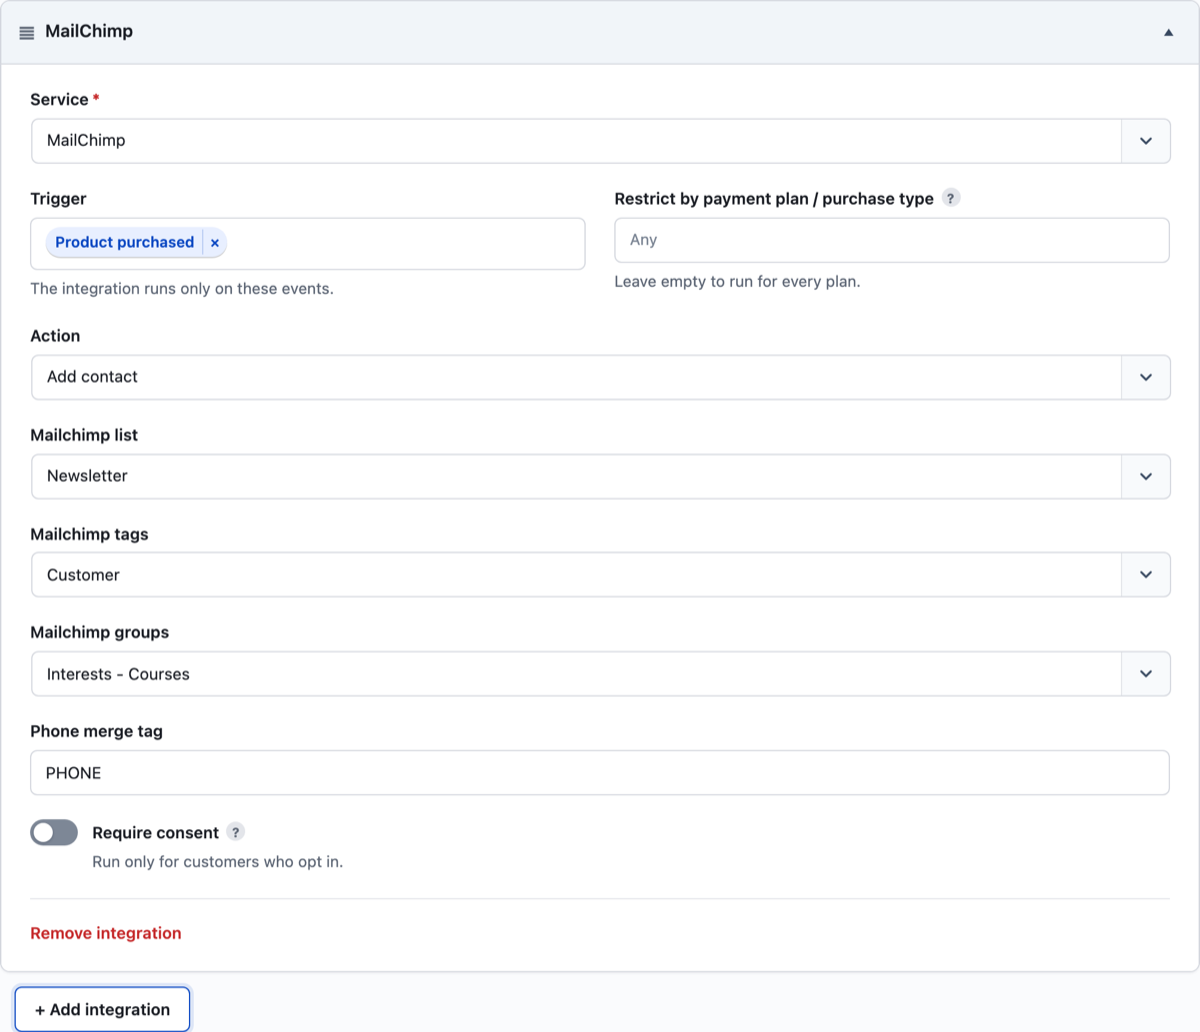
For the full list of triggers and the Restrict by payment plan / purchase type field, see Integrations Overview.
What Cart sends to Mailchimp #
When the action is Add contact, Cart adds or updates the contact with:
| Mailchimp field | Value from the order |
|---|---|
| Customer email | |
FNAME | Customer first name |
LNAME | Customer last name |
| Your phone merge tag | Customer phone (only when you set Phone merge tag) |
Cart sets the contact status to Subscribed. Cart then adds the selected groups and tags.
When the action is Remove contact, Cart removes the contact from the selected audience. Mailchimp archives the contact.
Ask customers for consent #
You can add a contact only when the customer agrees to join your list.
- On the product Integrations tab, turn on Show opt-in checkbox.
- Optional: change the Opt-in checkbox label.
- Optional: turn on Make opt-in checkbox required.
- In the Mailchimp integration, turn on Require consent.
When Require consent is on, Cart skips the integration for customers who do not tick the checkbox.
Lists, groups, or tags do not show #
Cart saves your Mailchimp lists, groups, and tags. If you add new ones in Mailchimp, they do not show in Cart at once.
To load them, click Refresh mailing lists on the product Integrations tab.
If the lists still do not show, check that the API key in Cart → Settings → Integrations is correct.
Check that it works #
- Buy the product with a test email address.
- Open the order in Cart → Orders. The Order Notes box shows a line for each Mailchimp step, for example “added to list ID”.
- In Mailchimp, find the test email in the audience.