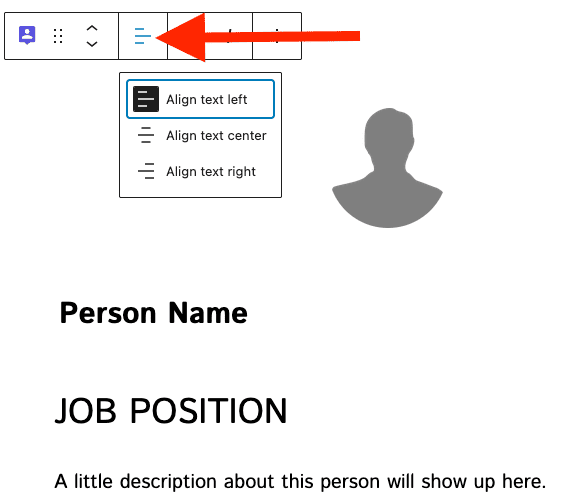
The PublishPress Testimonial block allows you to add clients testimonials to Gutenberg. You can add testimonials using columns or a slider. You can show the avatar, name, job position and description for each testimonial.
How to add Testimonial blocks #
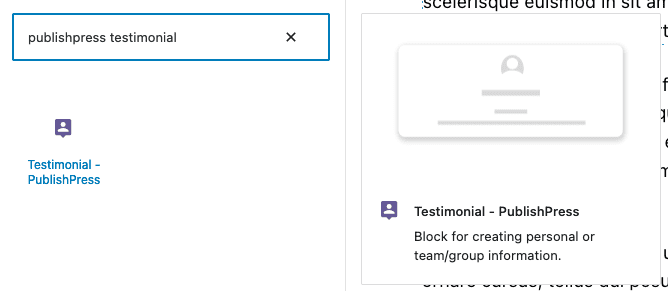
You can insert a PublishPress Testimonial into your content by clicking the “Testimonial – PublishPress” button in the PublishPress Blocks category.

Settings for the PublishPress Testimonial block #
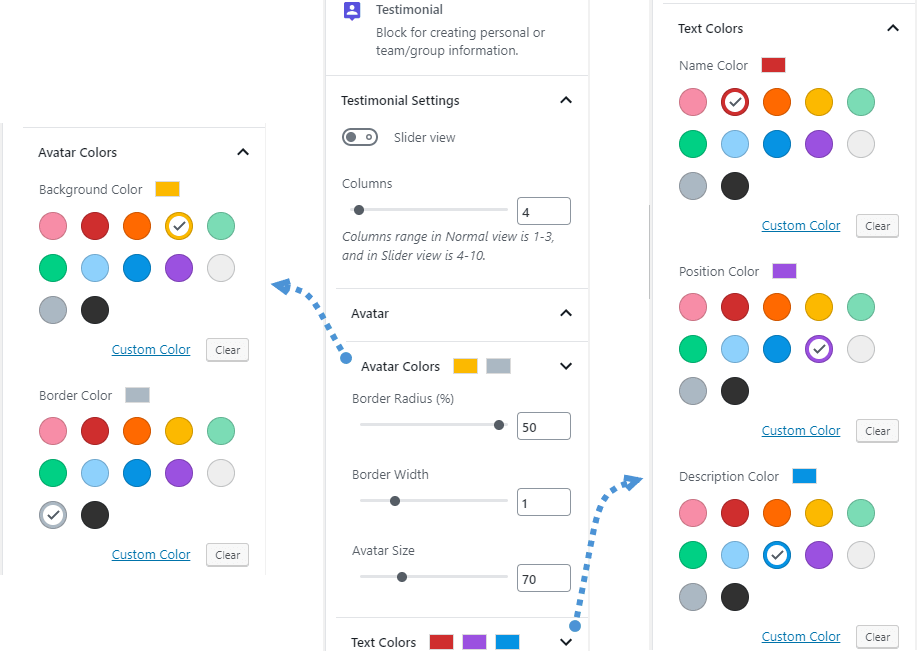
In the right panel you can adjust the settings for the Testimonial. When the Slider view option is disable, here is the settings:
- Columns: Columns range in Normal view is 1-3, and in Slider view is 4-10.
- Avatar: Avatar size, background color, and border settings, which include color, radius and width
- Text Colors:
- Name Color
- Position Color
- Description Color
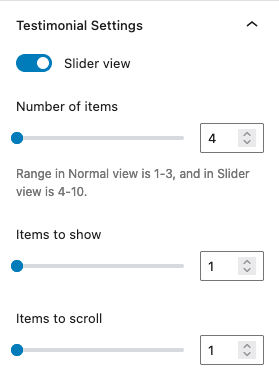
When you enable Slider view option, some additional options for slider will be appear:
- Number of items
- Items to show
- Items to scroll
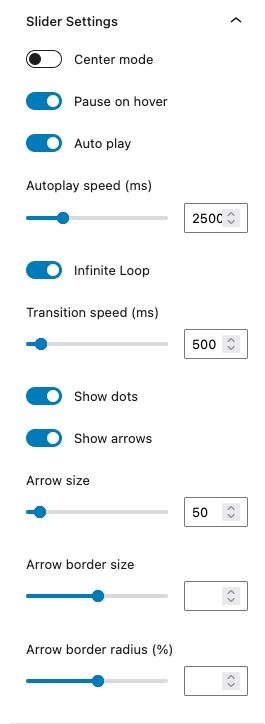
- Center mode
- Pause on hover
- Auto play
- Autoplay speed (ms)
- Infinite Loop
- Transition speed (ms)
- Show dots
- Show arrows
- Arrow size
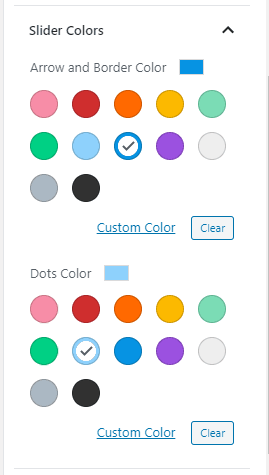
Slider Colors:
- Arrow and Border color
- Dots color
Change name, position and description size (Pro) #
You can change the size for the name, position and description.
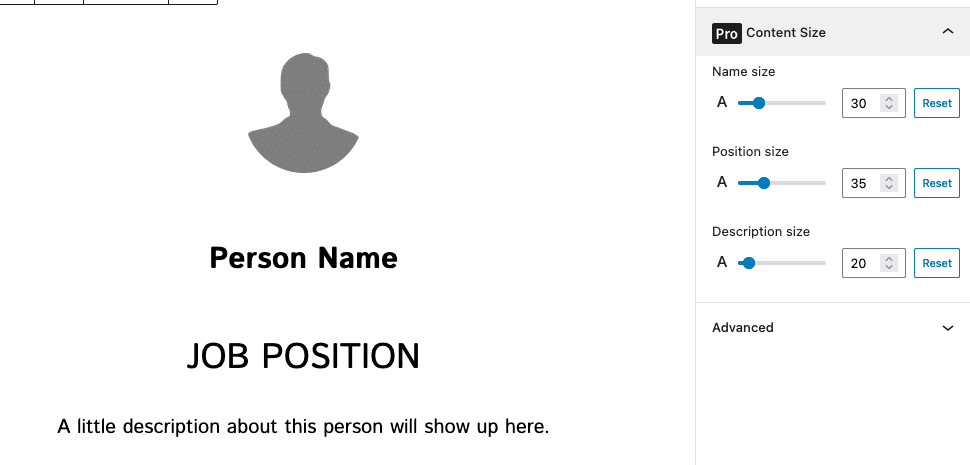
- Go to Content size panel
- Set a custom font size for the name, position and description
Please note the avatar position can be changed through Avatar settings > Avatar > Avatar position
Default settings for PublishPress Testimonial blocks #
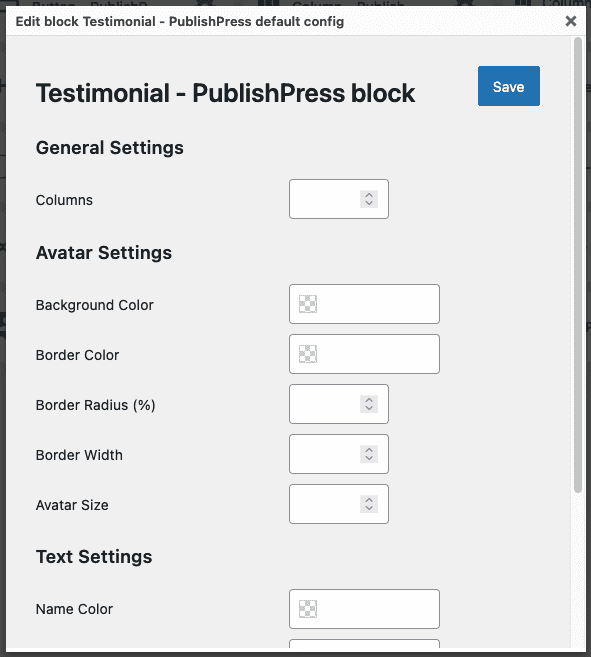
You can set default options for every PublishPress Testimonial block added to your site. This is possible with the PublishPress Blocks default configuration feature and it allows you to create a consistent look-and-feel for all your testimonials.
Go to Blocks in your WordPress admin menu, then PublishPress Blocks.
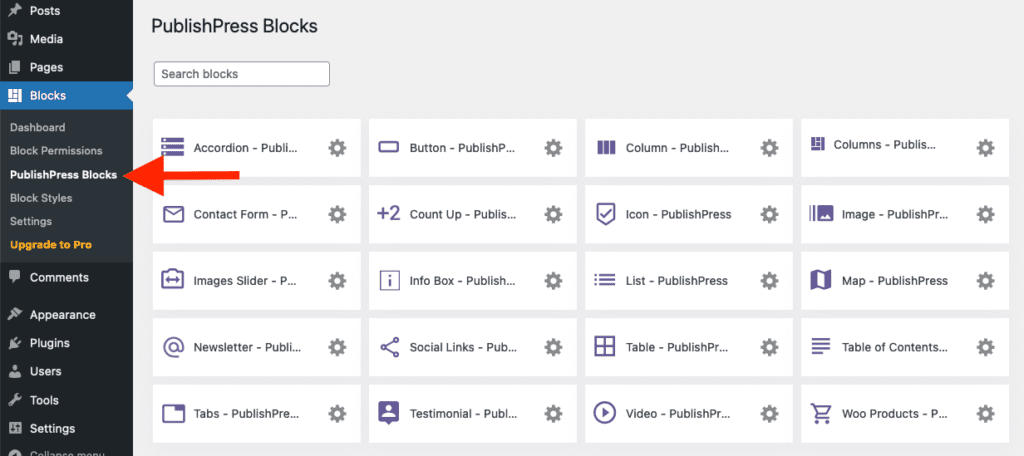
Click Testimonial settings icon.

Adjust the default settings and save.
