PublishPress Revisions allows you to schedule revisions to be automatically published in the future.
This allows you to update content now, but publish those updated changes at a later date.
How to Schedule a Revision #
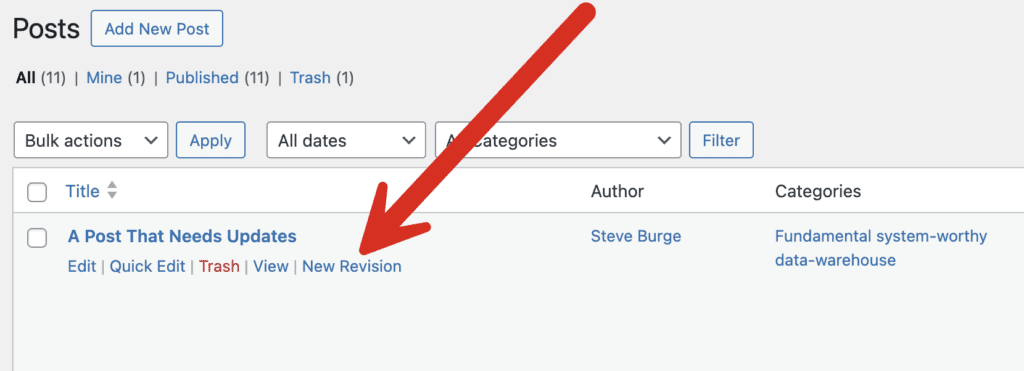
To get started, find the published post that you want to update in the future. Look for the “New Revision” link for that is on the “Posts” screen.
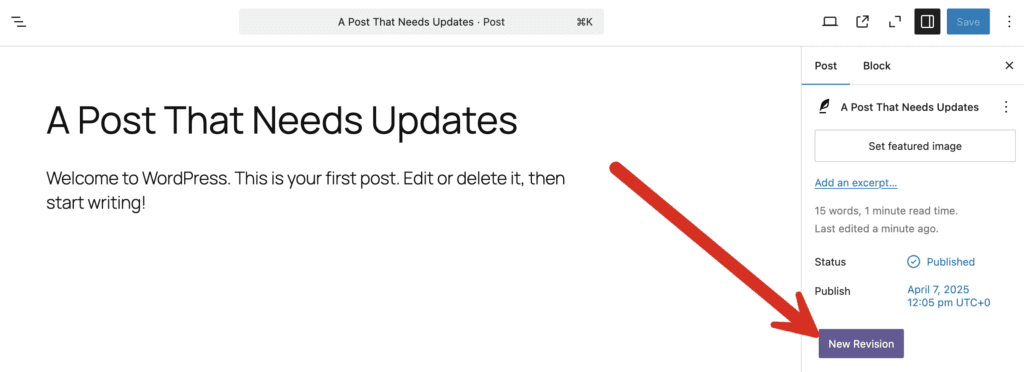
You can also find the “New Revision” link inside each post, in the right sidebar, as show in this next screenshot. If you choose this option, also click the “Edit Revision” button that will appear.
You will now be taken a new copy or “revision” of this post.
- Make some changes to the post.
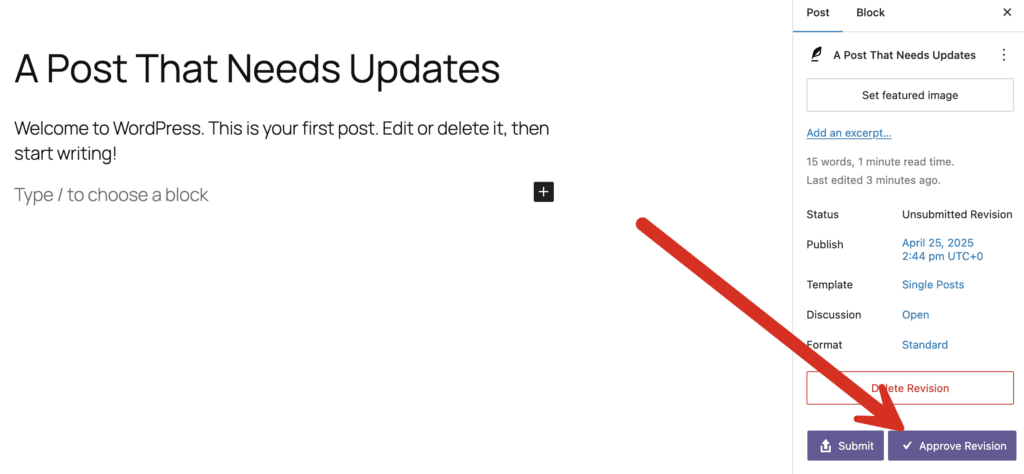
- In the right sidebar, find the “Publish” option. Select the new date that your copy of this post should go live.

- Click the “Approve Revision” button and your update will be scheduled.
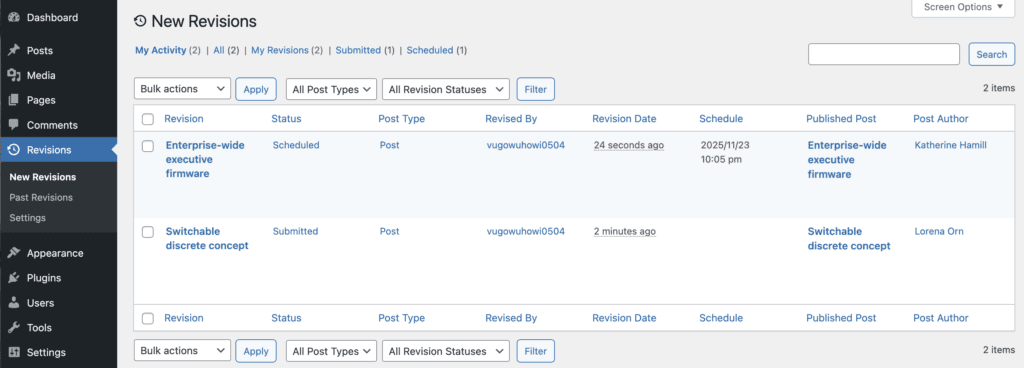
- Go to the “New Revisions” screen and you’ll see your scheduled revisions:
If you click the “Preview” link, you will see a moderation toolbar. If this toolbar has a grey color, the revision is approved and scheduled. You will also see the message, “This is a Scheduled Revision”.

If the post has not yet been approved, the toolbar will have the message “This is a Submitted Revision”.

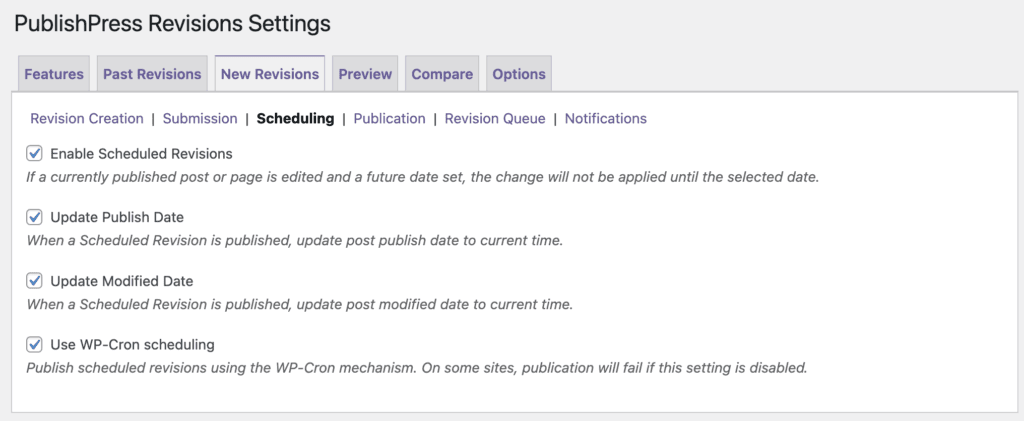
How to Enable or Disable Scheduled Revisions #
- Go to “Revisions”, then “Settings”.
- Click the “New Revisions” tab then the “Scheduling” tab.
- Enable or disable the the “Enable Scheduled Revisions” box.