The PublishPress Statuses plugin allows you to choose default visibility statuses for new posts. The default visibility statuses in WordPress are “Published” and “Private” but it’s possible to add more using the PublishPress Statuses plugin.
It also is possible to lock those statuses so new posts are forced to have these statuses.
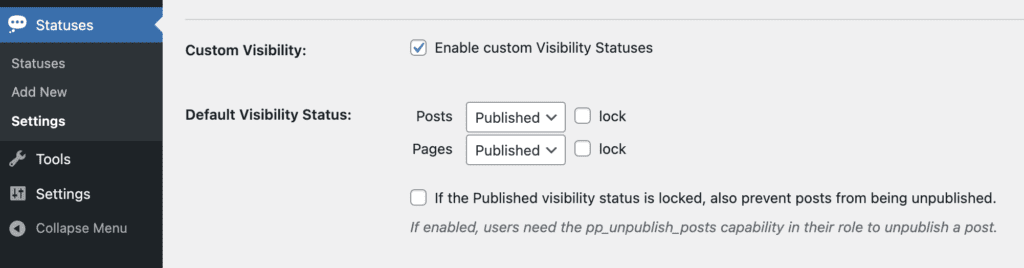
- Go to Statuses > Settings in your WordPress admin menu.
- The default visibility will be set to “Published” which is the normal approach in WordPress.
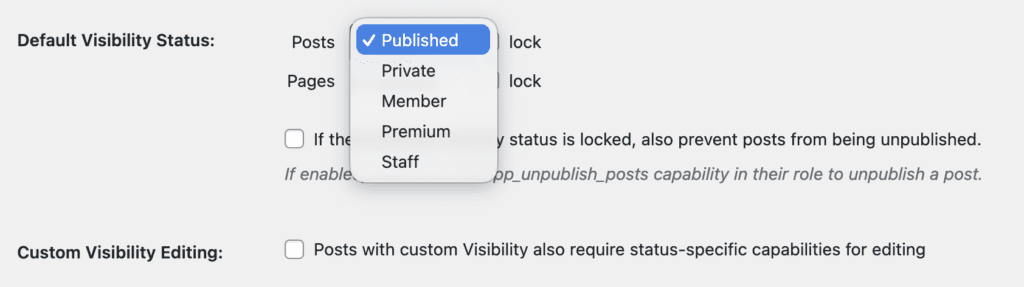
- You can choose another default visibility status from the dropdown as in this screenshot below. When you publish new posts, they will all default to the status you choose here.
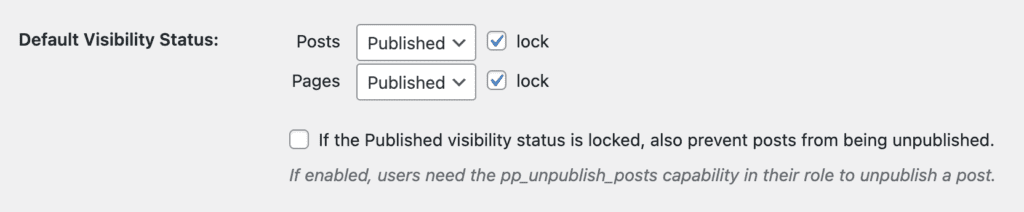
- You can also check the “Lock” box which means that users will not be able to change the visibility.
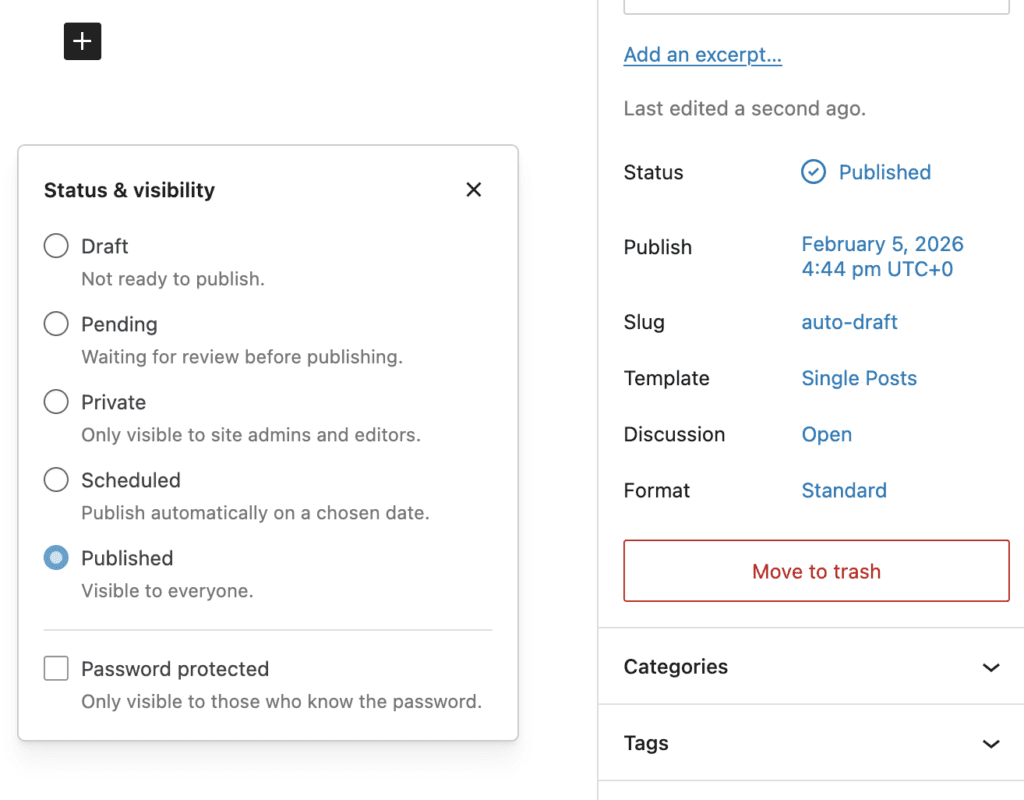
Here’s what happens when a status is locked. We’ll use the example of posts locked to the “Published” status.
- Test as a user who is not an Administrator. Users in the Administrator role are exempt from this lock.
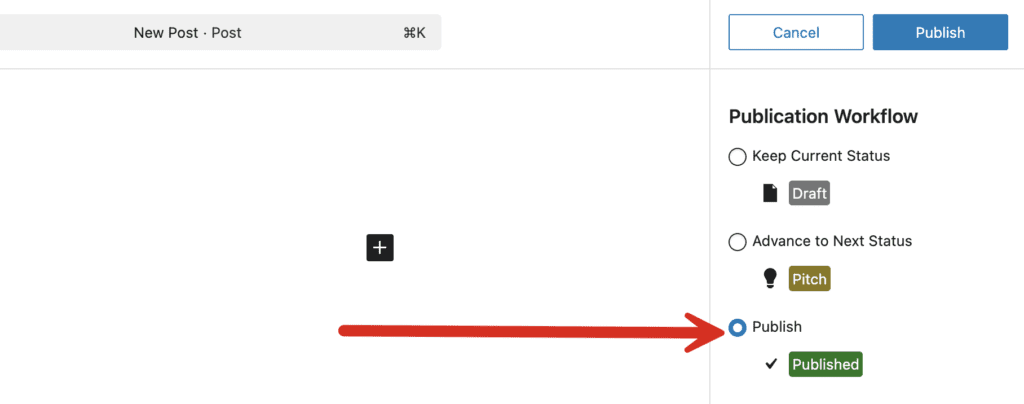
- Create a new post. Click “Publish” when your post is ready. You can see in the screenshot below that the post is moving to the “Published” status.
- After you have published your post, come back to the editing screen.
- The “Status & Visibility” box will be visible but it will not be possible to change the status.