PublishPress Permissions is the plugin for content-specific WordPress permissions.
These guides have useful background information as you’re getting started:
Installing and Configuring PublishPress Permissions #
The free version is available on WordPress.org. PublishPress Permissions Pro has many more features and is available to PublishPress members.
- Install either PublishPress Permissions Free or PublishPress Permissions Pro.
- Go to the “Permissions” link in the WordPress admin menu.
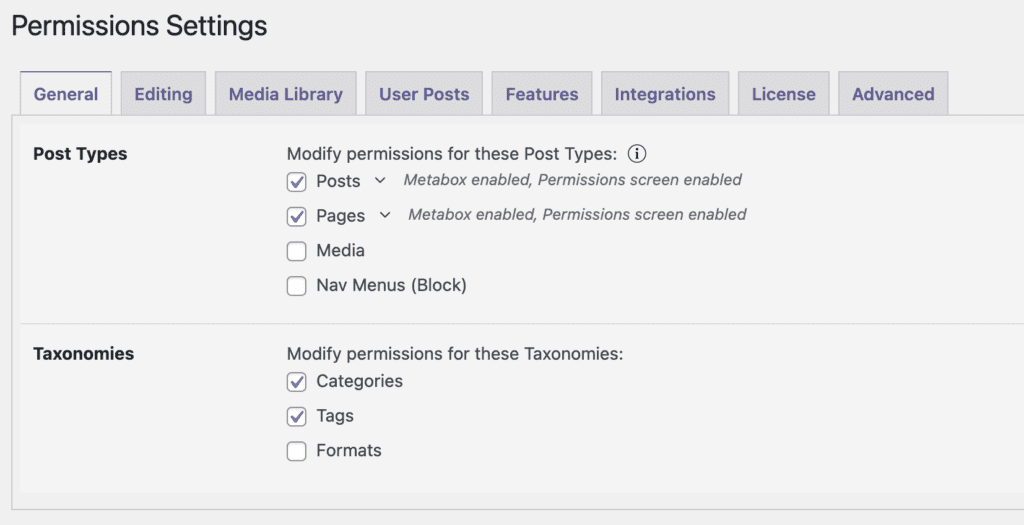
- Click “Settings”.
- Click the “Core” tab.
- Under “Filtered Post Types”, you can choose the post types you want to use with PublishPress Permissions:
Permissions inside Posts or Terms #
This feature allows you to control who can see and read the content. You can find these settings inside Posts, Pages, Categories, and Tags.
- In the image above, we selected “Posts”.
- Go to the “Posts” screen and edit a post.
- Scroll down and you can see the PublishPress Permissions metaboxes. Here you can control who is able to access this post. Click here for a guide to using this feature.

The Permissions Screen #
This feature allows you to control the permissions for multiple posts at once.
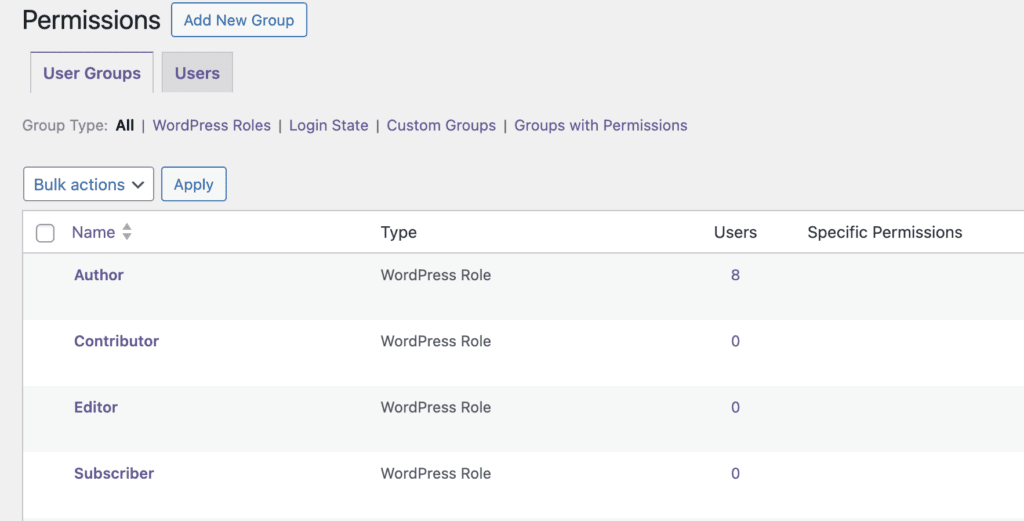
- Go to “Permissions” in the WordPress admin menu.
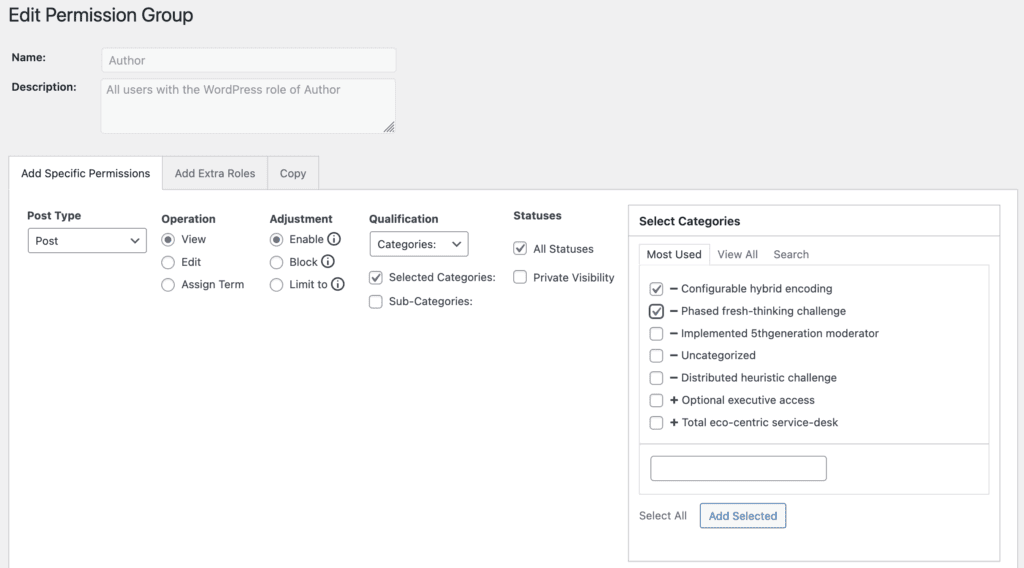
- Choose a role that you want to edit. In this example, we’ll choose “Author”.
Inside this area, you can create custom permissions for users.
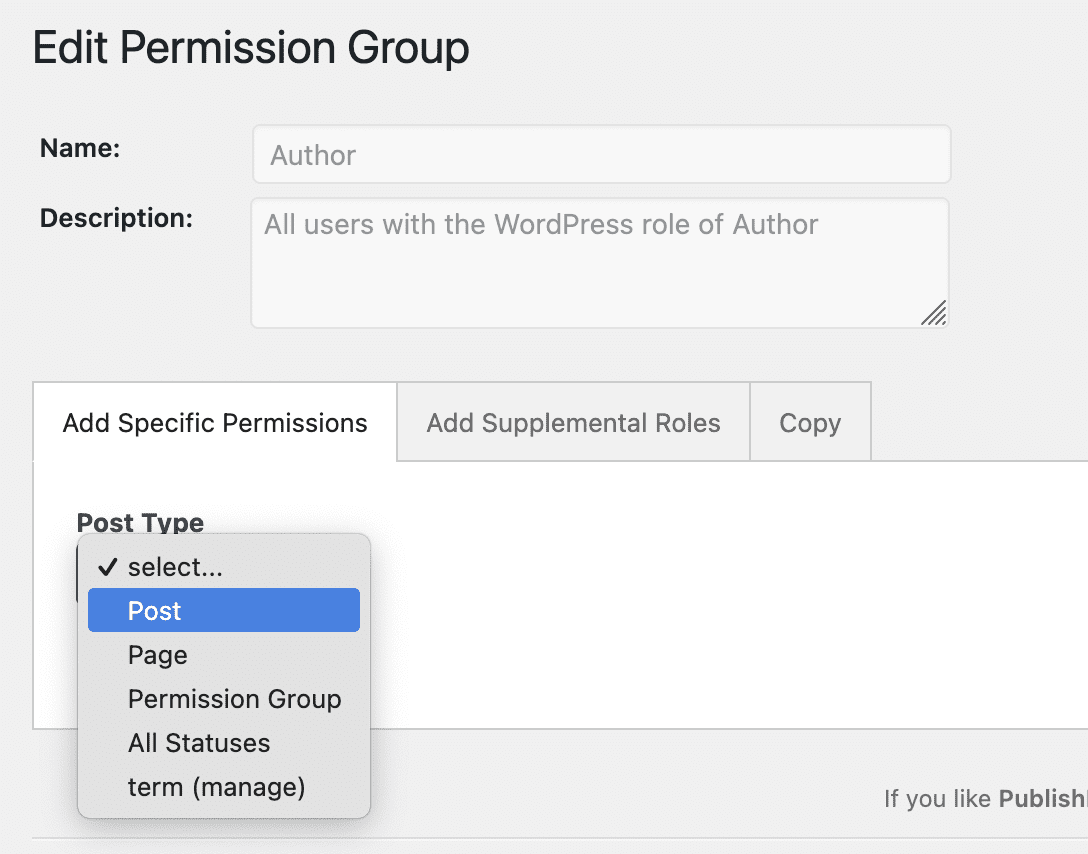
- Click the “Add Specific Permissions” tab.
- Choose a post type:
Now you can give very specific permissions to this user role. For example, you can allow users in this role to read (or not) content with a particular category or tag. When you’re finished, click “Add Selected” and then “Save Permissions”.