- Video guide to the PublishPress Table block
- How to create the PublishPress Table block
- Rows, columns and cells in the PublishPress Table block
- How to merge cells
- How to add border to the PublishPress Table block
- Settings for the PublishPress Table block
- Default settings for all your PublishPress Table blocks
- Horizontal scrollbar support for PublishPress Table
The PublishPress Table block is based on the default Table block in Gutenberg. This improved version of the block has tons of extra table features including advanced styling such as margin, padding, alignment, colors and more.
Video guide to the PublishPress Table block #
How to create the PublishPress Table block #
You can create a table by clicking the PublishPress Table button in the PublishPress Blocks category.

After choosing the PublishPress Table block, you can choose the number of columns and rows for your layout:

Rows, columns and cells in the PublishPress Table block #
You can edit the table after setting the number of columns and rows. The options include:
- Add Row Before
- Add Row After
- Delete Row
- Add Column Before
- Add Column After
- Delete Column
- Split Merged Cells
- Merge Cells

How to merge cells #
In Mac you just need to click one cell (NOT select like you would do with text). Then keep pressed shift key and click on the other cell you want to merge with. As last step click on the table icon options > Merge cells.

How to add border to the PublishPress Table block #
You can either add border to one cell, or to a group of cells.
In order to add border to all the table, select all the cells (in Mac, press the shift key while selecting cells).

In Sidebar, go to Cell settings > Border and choose the full border icon. Then set the border width.

In Table settings enable Border collapsed, if desired.

Settings for the PublishPress Table block #
More table settings can be modified in the right sidebar:
Styles #
- Default
- Stripes

Table Settings #
- Max width: Set this to 0 to make max-width equivalent to 100%
- Fixed width table cells: Enabled or disabled.
- Table header: Enabled or disabled.
- Table footer: Enabled or disabled.
- Border collapsed: Enabled or disabled.

Cell Settings #
- Color Settings:
- Background Color
- Text Color
- Border:
- Border Style
- Border Width
- Border Color
- Padding:
- Padding Top
- Padding Right
- Padding Bottom
- Padding Left
- Text Alignment:
- Horizontal Align
- Vertical Align

Default settings for all your PublishPress Table blocks #
You can set default options for every PublishPress Table block added to your site. This is possible with the PublishPress Blocks default configuration feature and it allows you to create a consistent look-and-feel for all your tables.
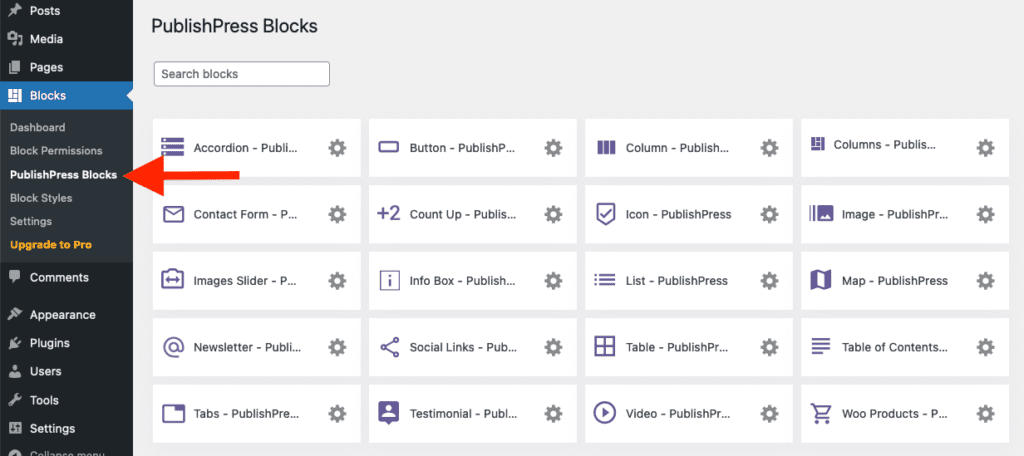
Go to Blocks in your WordPress admin menu, then PublishPress Blocks.

Click Table settings icon.

Adjust the default settings and save.

Horizontal scrollbar support for PublishPress Table #
This is very useful for large tables in tablets and mobile.
- Select your PublishPress Table block (not just a cell! The block).
- Click on the 3 points to reveal block settings.
- Click “Group”

- Select the Group block that now wraps the table.
- In the sidebar, go to Advanced > Additional CSS class(es)
- Type: wp-block-table

If you preview your table in small devices in frontend, you'll see an horizontal scrollbar when the content can't fit the screen.
