Table of Contents
PublishPress Planner is the plugin for managing and scheduling WordPress content.
This is a guide to installing the PublishPress Planner plugin. These guides have useful background information as you’re getting started:
Install the Free version of PublishPress Planner #
- Log in to your WordPress dashboard.
- Go to “Plugins”, then “Add New”.
- Search for “PublishPress Planner”.
- You will see the image below as a result. Click “Install Now”.

- Click “Activate”.
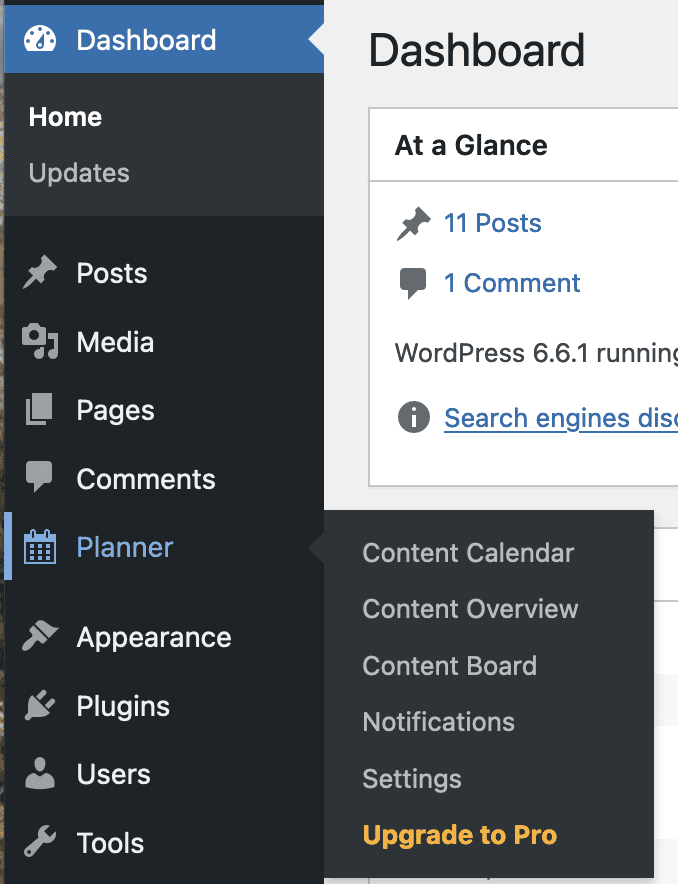
- You will now see Planner in your WordPress admin menu.