
The easiest way to install PublishPress Series is from your website dashboard. To do this:
- Go to the “Plugins” admin page on your WordPress site.
- Click the “Add New” button next to the title and search for the plugin.
- In the search results you’ll see the PublishPress Series plugin listed. Click the “Install Now” button.
- After the plugin is installed, click the “Activate” button.

You will find Series links in two places:
- Under the main “Posts” link with screens called “Series”, “Series Categories”, and “Manage Series”.
- The “Series” link which is the Settings area for the plugin.

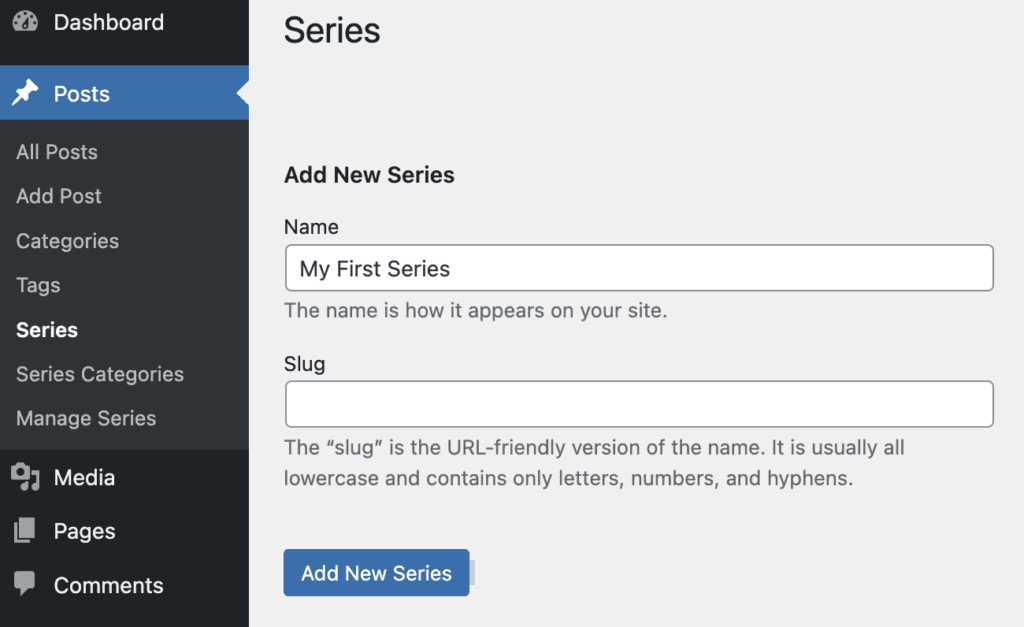
- To get started with PublishPress Series, go to “Posts” then “Series”.
- Enter the detail to create your first series.
- When you go to create posts, you will now be able to add posts to your series, using the metabox in the image below:

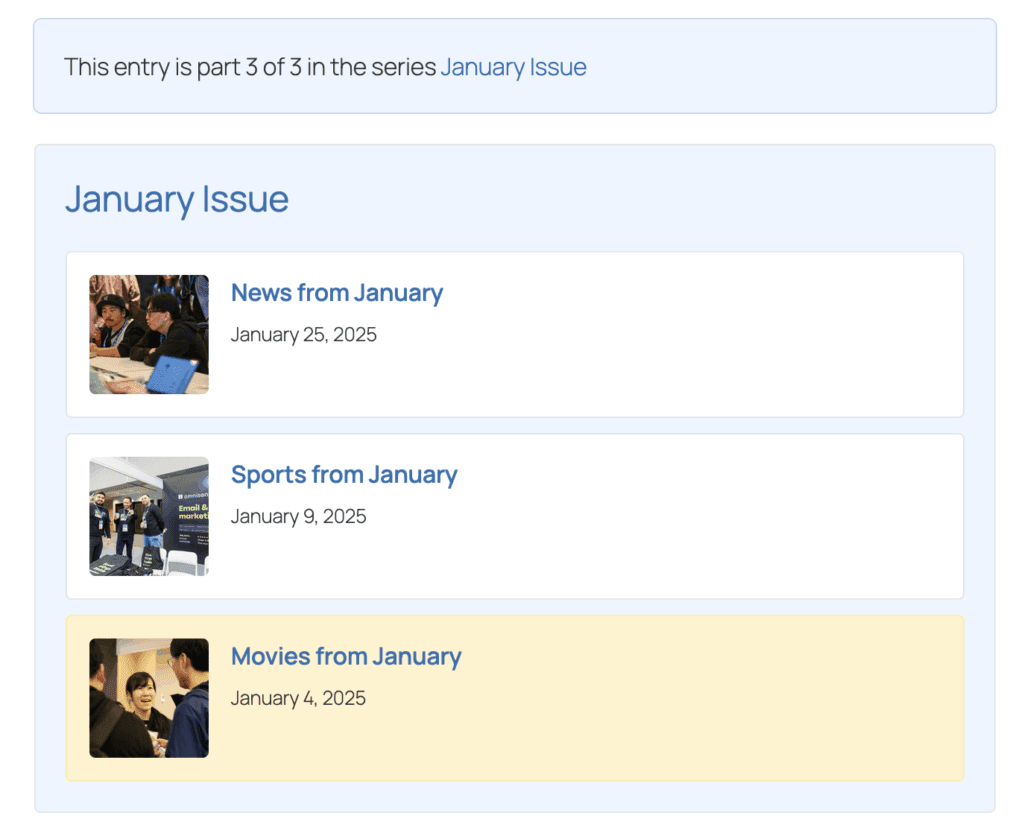
Simply publishing these new posts will be enough to start building your series. The PublishPress Series plugin will automatically add the features you need to manage your series. This image below shows a new series with the default plugin features. We have created a 3 posts and placed them in a series called “January Issue”.
If you want to organize your series in more depth, you can use the Series Categories feature. Here is an example of how you can add use the Categories feature to create a monthly magazine:
- Series Categories: 2023, 2024, 2025
- Series: January 2025, February 2025, March 2025
- Post: “Welcome to our January 2025 Issue”