
The PublishPress Checklists plugin allows you to create custom requirements for your pre-publishing checklists.
This tutorial will show you how to write some code to create your own requirements. There’s a sample plugin on Github called the PublishPress Checklist Plugin Bootstrap. This example plugin will create a requirement that automatically checks that your posts have the word “PublishPress” in their main content.
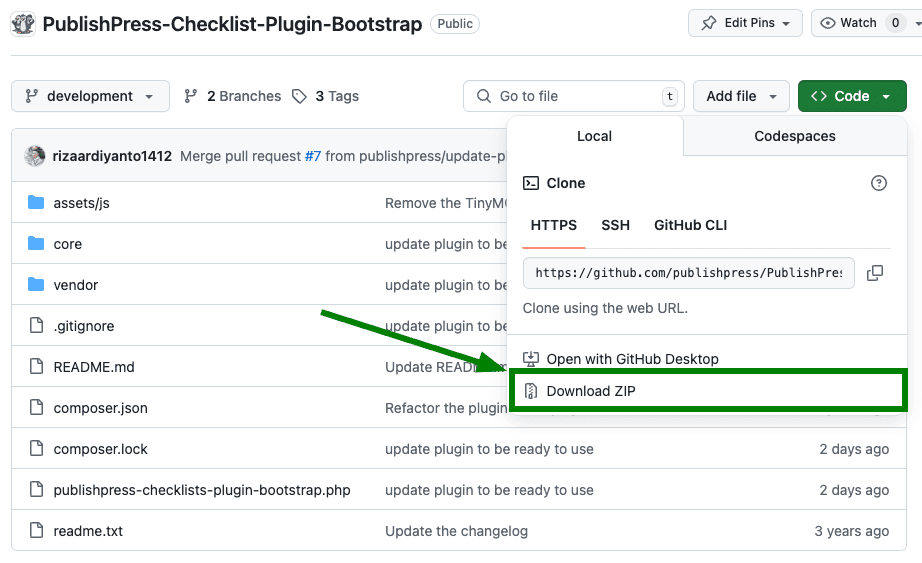
This plugin can be downloaded and installed:

Publish this new plugin and an extra requirement will become available to you, “Say “PublishPress” in the content”.
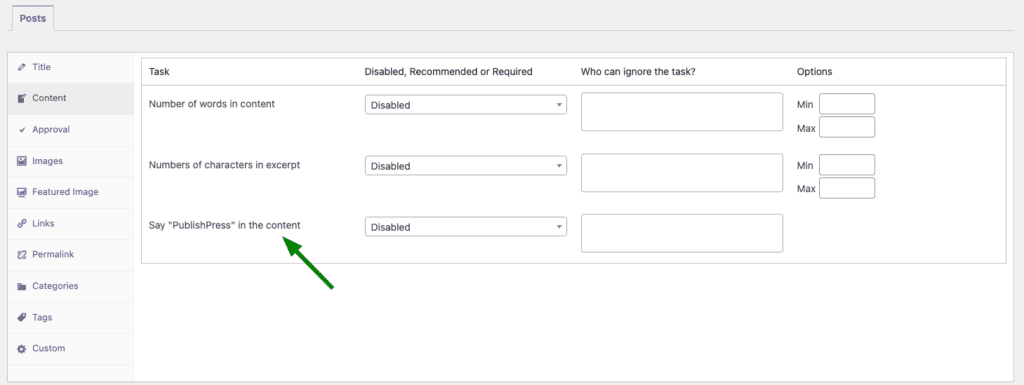
If this requirement is enabled, it will automatically search the text of your content to make sure it contains the world “PublishPress”. It will search for both whole words, and partial words. If it’s not present, users will see this warning:

How the Sample Plugin Works #
When the Checklists plugin is loaded it does an action called publishpress_checklists_load_addons, that can be used to initialize your custom plugin for the custom tasks.
The task is validated in two ways. For the initial state, when the post is loaded, we make the validation in the PHP side, in file core/Requirement/Custom_text.php, method get_current_status. For real-time validation while editing the post, we use JavaScript, in the assets/js/requirements.js file.
The main plugin file #
publishpress-checklists-plugin-bootstrap.php
This is the main plugin file that loads the dependencies and hook into the action publishpress_checklists_load_addons for calling the method init in the class PublishPress_Checklists_Bootstrap\Addon.
The Addon.php file #
This class add the filters that register the add-on in the Checklists plugin and loads the JavaScript assets that are used to check the task in the editor.
The filter publishpress_checklists_post_type_requirements pass two arguments. The first one is an array of strings, the list of class names that represents the available tasks for the post type passed as the second argument. If the post type is supported for your custom task, add its class name in the array and return it.
The filter publishpress_checklists_enqueue_scripts is used to load the JavaScript file that contains the code to check the task in the real-time while editing the post.
The Custom_Text.php file #
core/Requirement/Custom_Text.php
In this sample plugin we use a class that extends the “generic” class PublishPress\Checklists\Core\Requirement\Base_simple which is used as the base for other tasks with no special settings or params. Your task can extend any predefined tasks found on the core/Requirement directory. If you want a task that works as a counter, extend the class Base_counter. If it should display a dropdown with options in the settings, use Base_dropdown, and so on.
If you extend a base class, or create one from draft, make sure the class implements the interface PublishPress\Checklists\Core\Requirement\Interface_required.
The method get_current_status is used to set the initial status of the task when the post editor is opened. Then while editing the post, it will be checked only by the JavaScript code. So you need two ways for checking the task.
On this class there is a very important property named $name. The value of this property is the name of the task you use when interacting with JavaScript code.
The Requirements.js file #
This is the JavaScript file used to check the status of the task in real-time while editing the post. Note that you need specific code for supporting both the Classic Editor and Gutenberg.
Check that the task is enabled for the current post #
The verification for the task should only run if the task is selected for the current post type. The easier way for checking that is using jQuery for looking for the element that is added for it:
if ($('#pp-checklists-req-custom_text').length > 0) {
...
}
Please note the “custom_text” in the element’s ID. That is the same value of the property $name in the core/Requirement/Custom_Text.php class. Change this according to your task’s name.
Update the task status in real-time #
After you calculated the current status of the task, you set it to the variable is_valid. Then you trigger a JS event PP_Checklists.EVENT_UPDATE_REQUIREMENT_STATE to the task’s element, passing the value of is_valid.
$('#pp-checklists-req-custom_text').trigger(
    PP_Checklists.EVENT_UPDATE_REQUIREMENT_STATE,
    is_valid
);
If true, the task will be checked as green. Otherwise, it stays as unchecked. This method is valid for both Classic Editor and Gutenberg. What changes is how you extract the information from each editor.
Support both Classic Editor and Gutenberg #
The function PP_Checklists.is_gutenberg_active() can be used to detect if Gutenberg is active or not.
if (PP_Checklists.is_gutenberg_active()) {
...
}
Gutenberg provides an specific API for interacting with the editor. If you want to check the task every time the content is updated you can use the wp.data.subscribe method, as you can see in the sample code.
For interacting with the Classic Editor you use the TinyMCE API. We provide a Javascript event called PP_Checklists.EVENT_TINYMCE_LOADED that you can use to detect when the editor is available and loaded. Then you can calculate the initial task’s status and also every time the content is edited.
We provide another Javascript event called PP_Checklists.EVENT_TIC that runs every 300ms. This event can be used for changes that can’t be detected by any other trigger.