The PublishPress Newsletter block save your future customers email for your marketing operations. You can create a sign-up block that's customized with your own styling and text.
How to add the PublishPress Newsletter block #
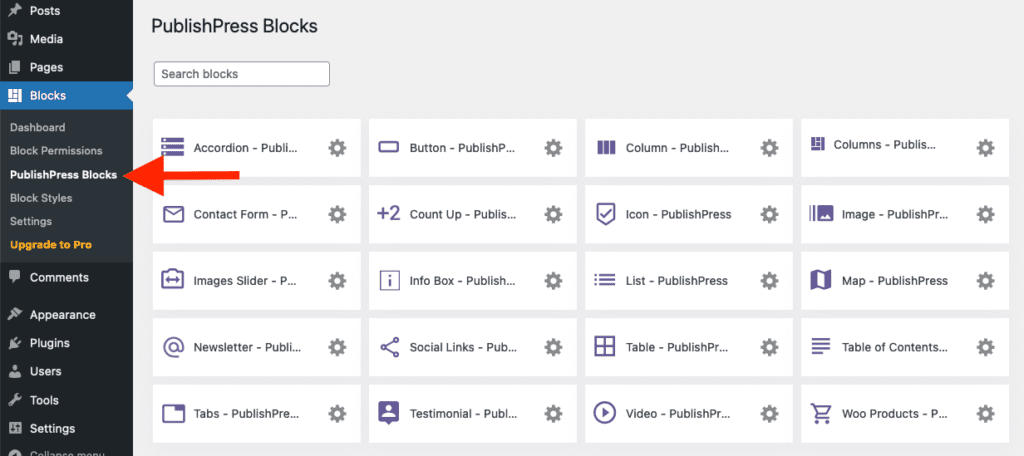
You can create the email block by clicking on “Newsletter – PublishPress” button in the PublishPress Blocks category.

Settings for the PublishPress Newsletter block #
You can edit the settings of the PublishPress Newsletter on the right panel.
- Notice: This will appear if you have not enabled the reCAPTCHA option in PublishPress Blocks.
- Form Settings:
- Form style: Default/Alternative. The Alternative layout also has First Name and Last Name fields.
- Form width (px)
- Text Label:
- Email input placeholder
- Submit text
- Empty field warning text
- Submit success text

Color settings for the PublishPress Newsletter block #
- Input Color: Background color and Text color
- Border Settings: Border Color, Border Style and Border radius
- Submit Button Settings:
- Color Settings:Border and Text, Background
- Button border radius

Export emails from the PublishPress Newsletter block #
PublishPress Blocks will save all the emails entered into your Newsletter blocks. Click here for more on exporting your emails.

Default settings for the PublishPress Newsletter block #
You can set default options for every PublishPress Newsletter block added to your site. This is possible with the PublishPress Blocks default configuration feature and it allows you to create a consistent look-and-feel for all your newsletter forms.
Go to Blocks in your WordPress admin menu, then PublishPress Blocks.

Click PublishPress Newsletter settings icon.

Adjust the default settings and save.

