
PublishPress Cart allows you to sell file downloads. In this guide you’ll see how to sell downloadable files such as eBooks, artwork, templates, spreadsheets, audio tracks, software, and more.
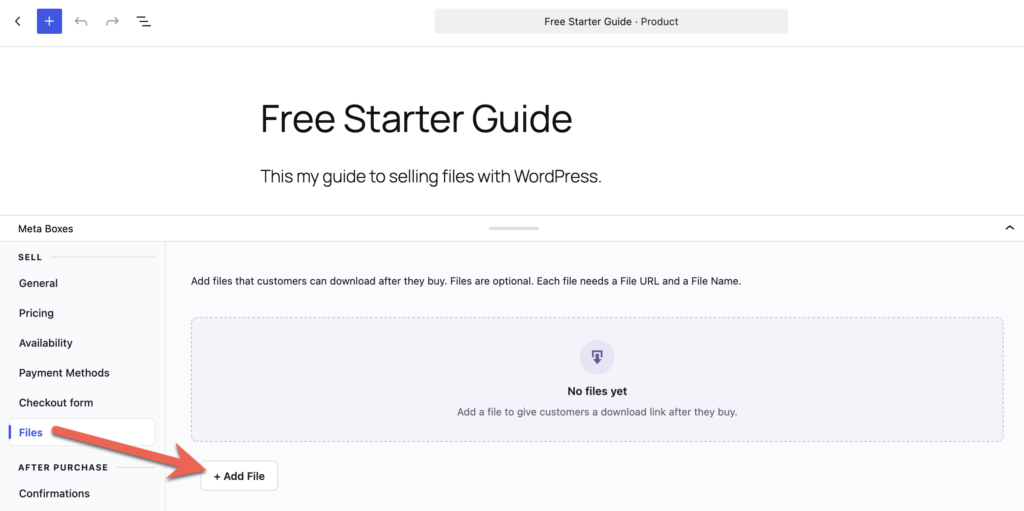
- Inside a product, look for the “Files” tab.
- Click “Add File”.
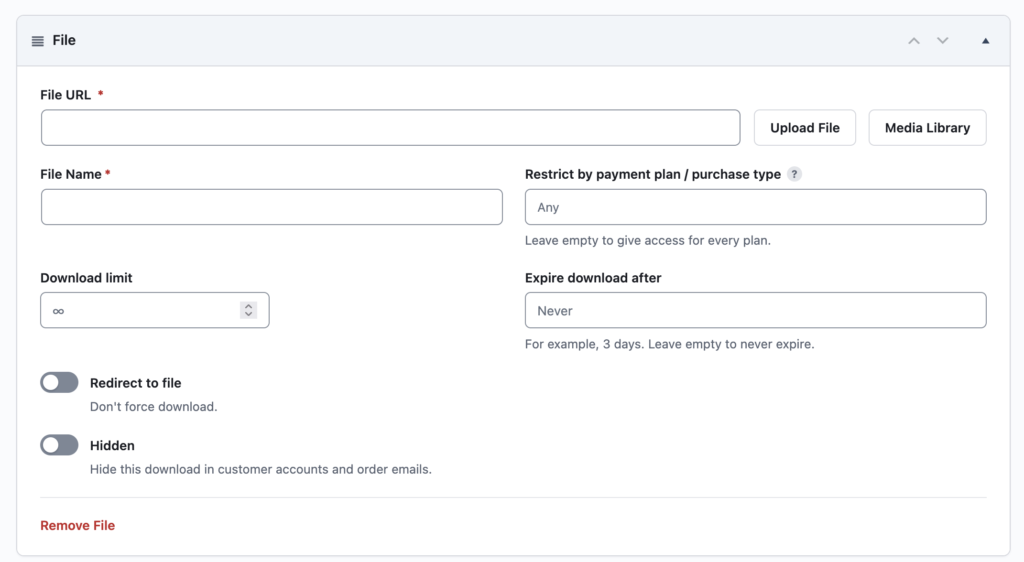
You can now enter the details for your file download:
- File URL: Either enter this by hand, or choose a file by clicking “Upload File” or “Media Library”
- File Name: This is what users will see when they click to download your file.
- Restrict by payment plan / purchase type: This allows you restrict who can download your file.
- Download limit: This is the number of times that the user can download the file.
- Expire download after: Set a time limit on how long the files are available after purchase.
- Redirect to file: This will force the file to open in the browser rather than download.
- Hidden: Hide this download in customer accounts and order emails.
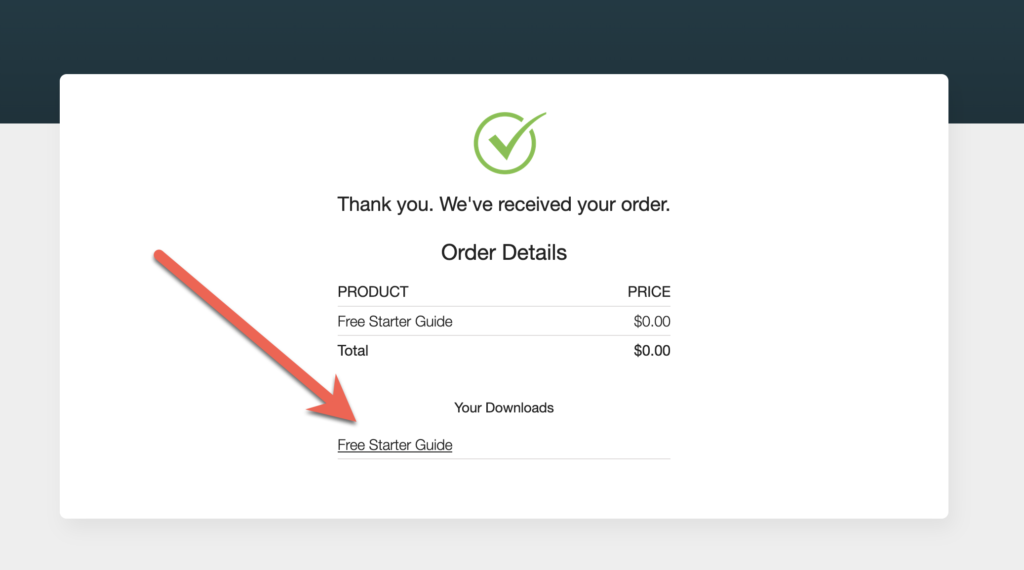
After a user purchases your product they will see a download link for the file.
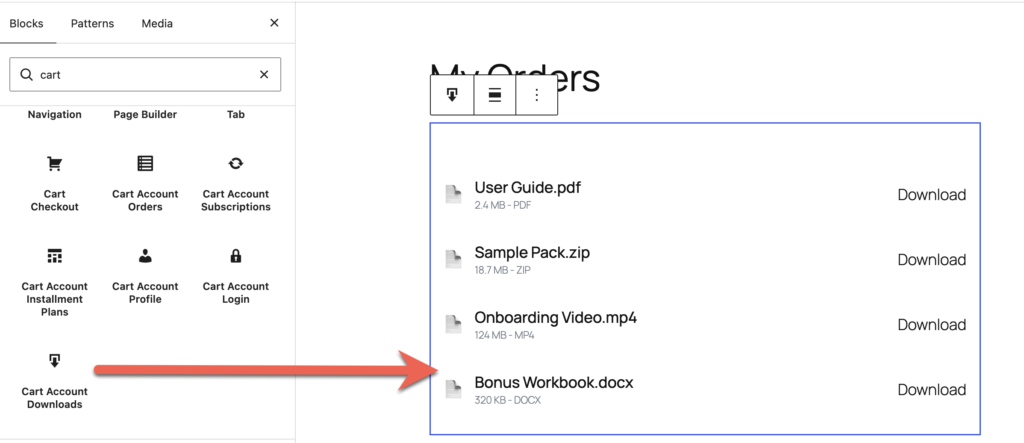
You can also show the download link using several of the Gutenberg blocs and shortcodes available in PublishPress Cart. For example, the “Cart Account Downloads” block can provides users with a list of all their downloads.
Here’s a video guide to providing file downloads in PublishPress Cart.