Do you use Encharge? That’s great, because we have seamless integration with Encharge.
How To Integrate Encharge With PublishPress Cart
- Find Your Encharge Write Key
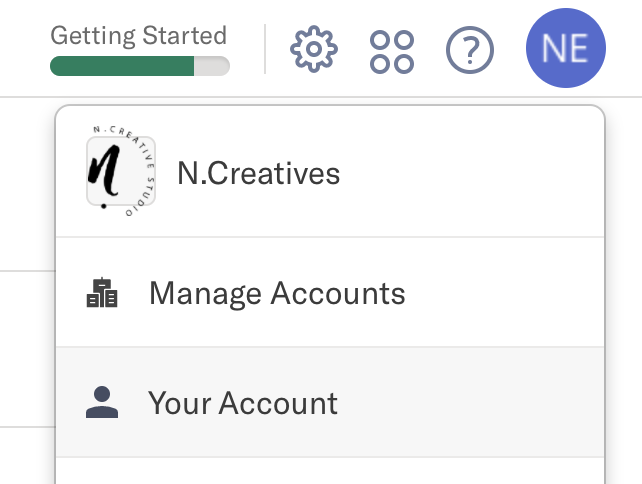
To integrate Encharge with PublishPress Cart, you will need to find your Write Key of your Encharge account. You can find it by click your profile icon on the top right corner and select “Your Account”:
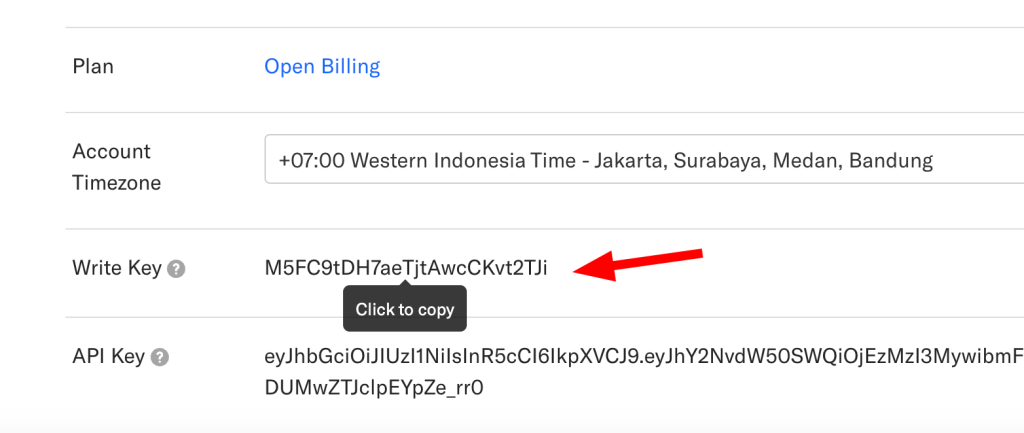
Then scroll down, you will find the Write Key in the bottom. You could click to copy.
2. Apply Encharge Write Key on PublishPress Cart
After you got the write key from Encharge, then head over to your website’s PublishPress Cart Integrations tab and paste your Encharge Write Key into the matching field box.
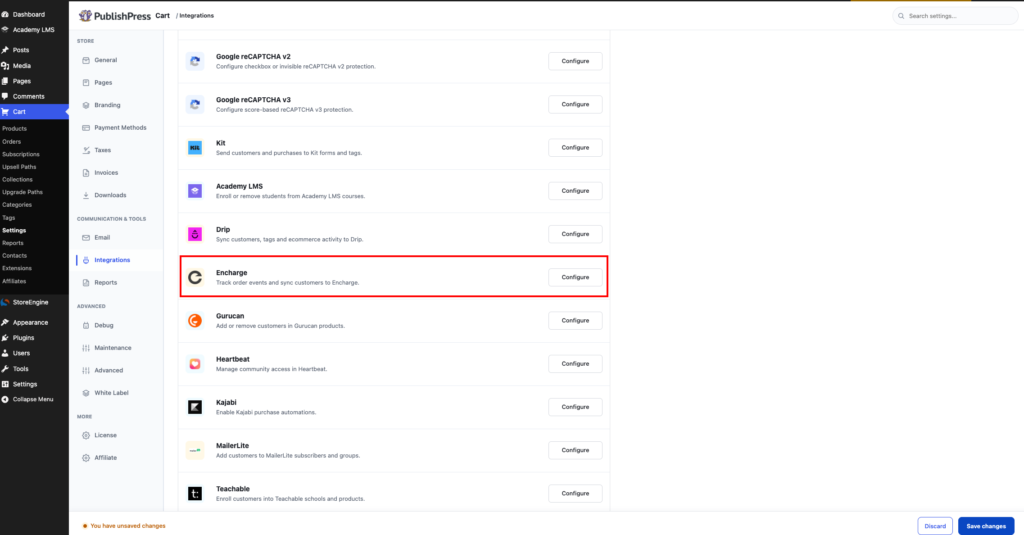
Enable order events to automatically create or update contacts in Encharge based on customer actions, such as purchasing a product or subscribing to one. This allows seamless tracking within Encharge.
3. Setup Integration on Product
Go to your product’s Integrations tab and select Encharge from the services menu. Choose the desired trigger and payment plan. Additionally, you can add tags or define custom event names and properties to initiate specific flows in Encharge.
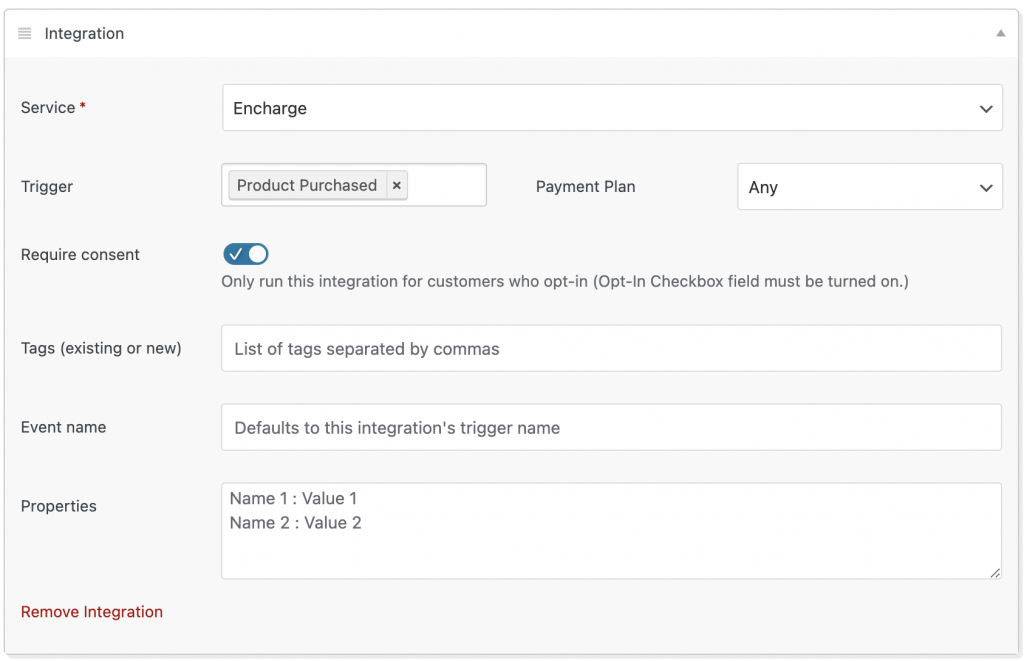
Details:
- Require Consent: When enabled, only customers who check the consent box on the order form will be added to the list. Ensure the Opt-in Checkbox is also enabled in the Form Fields tab for this feature to function.
- Tags: Automatically adds tags (new or existing) to contacts when they’re added to Encharge.
- Event Name: Specifies the name of the event triggered. By default, it uses the Trigger setting (e.g., “Product Purchased”).
- Properties: Includes additional event details, which can be used to personalize emails and flows in Encharge. If left empty, default order info will be sent. Read more about Event and Properties in Encharge.
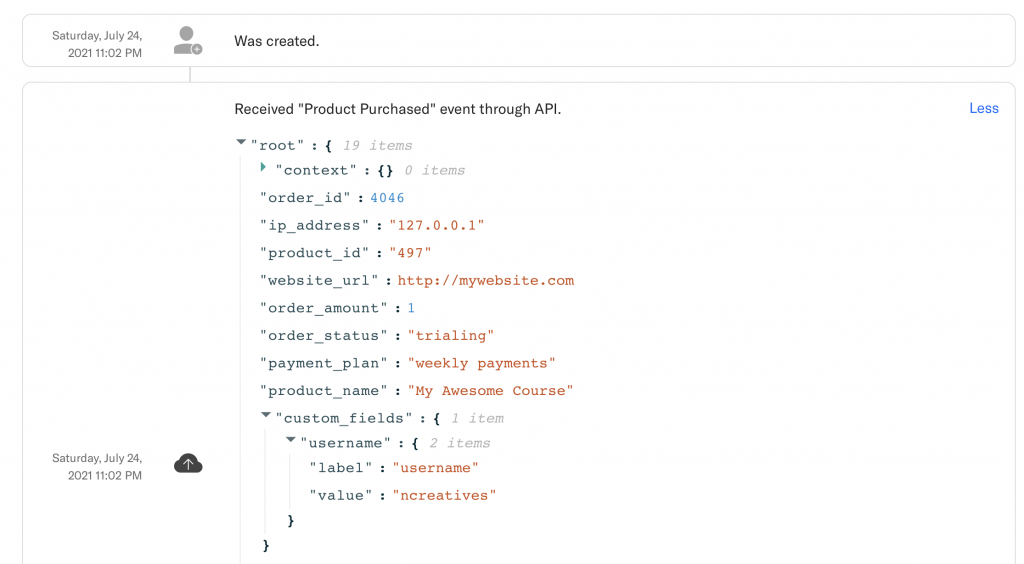
Here is the sample of Event being sent to Encharge with all the order information as properties.