This guide will show you how to use the “Admin Features” screen in the PublishPress Capabilities plugin. This screen allows you to hide features in the WordPress admin area and toolbar. You can decide what users see in your WordPress dashboard.
This feature is available in both the Free and Pro version of PublishPress Capabilities. The Pro version also enables you to hide any element in the WordPress admin and also Block access to specific URLs.
Getting Started With Admin Features #
- To start changing the WordPress dashboard, go to “Capabilities”, then “Admin Features” in your WordPress admin menu.
- Look in the top-left corner for the user role you want to edit:

On this screen, you’ll be able to choose which features to hide for different user roles:
- Scroll down the screen and you can place a red X for every feature you want to hide.
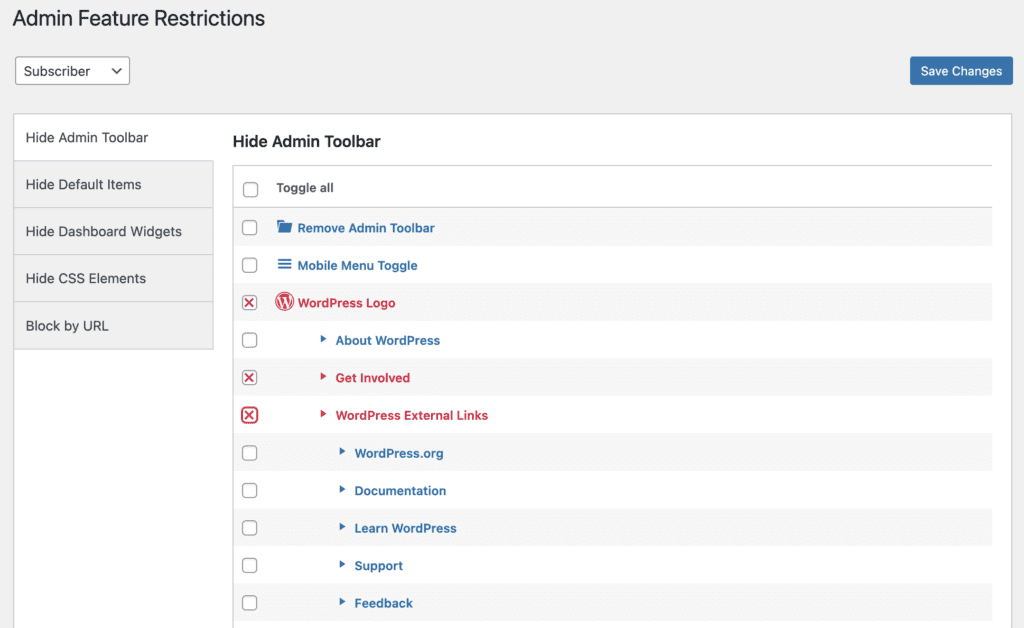
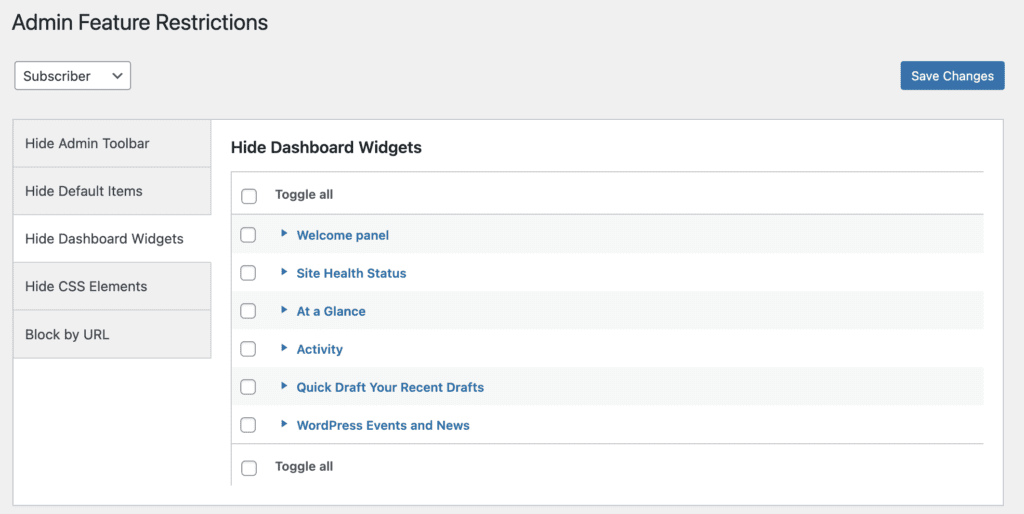
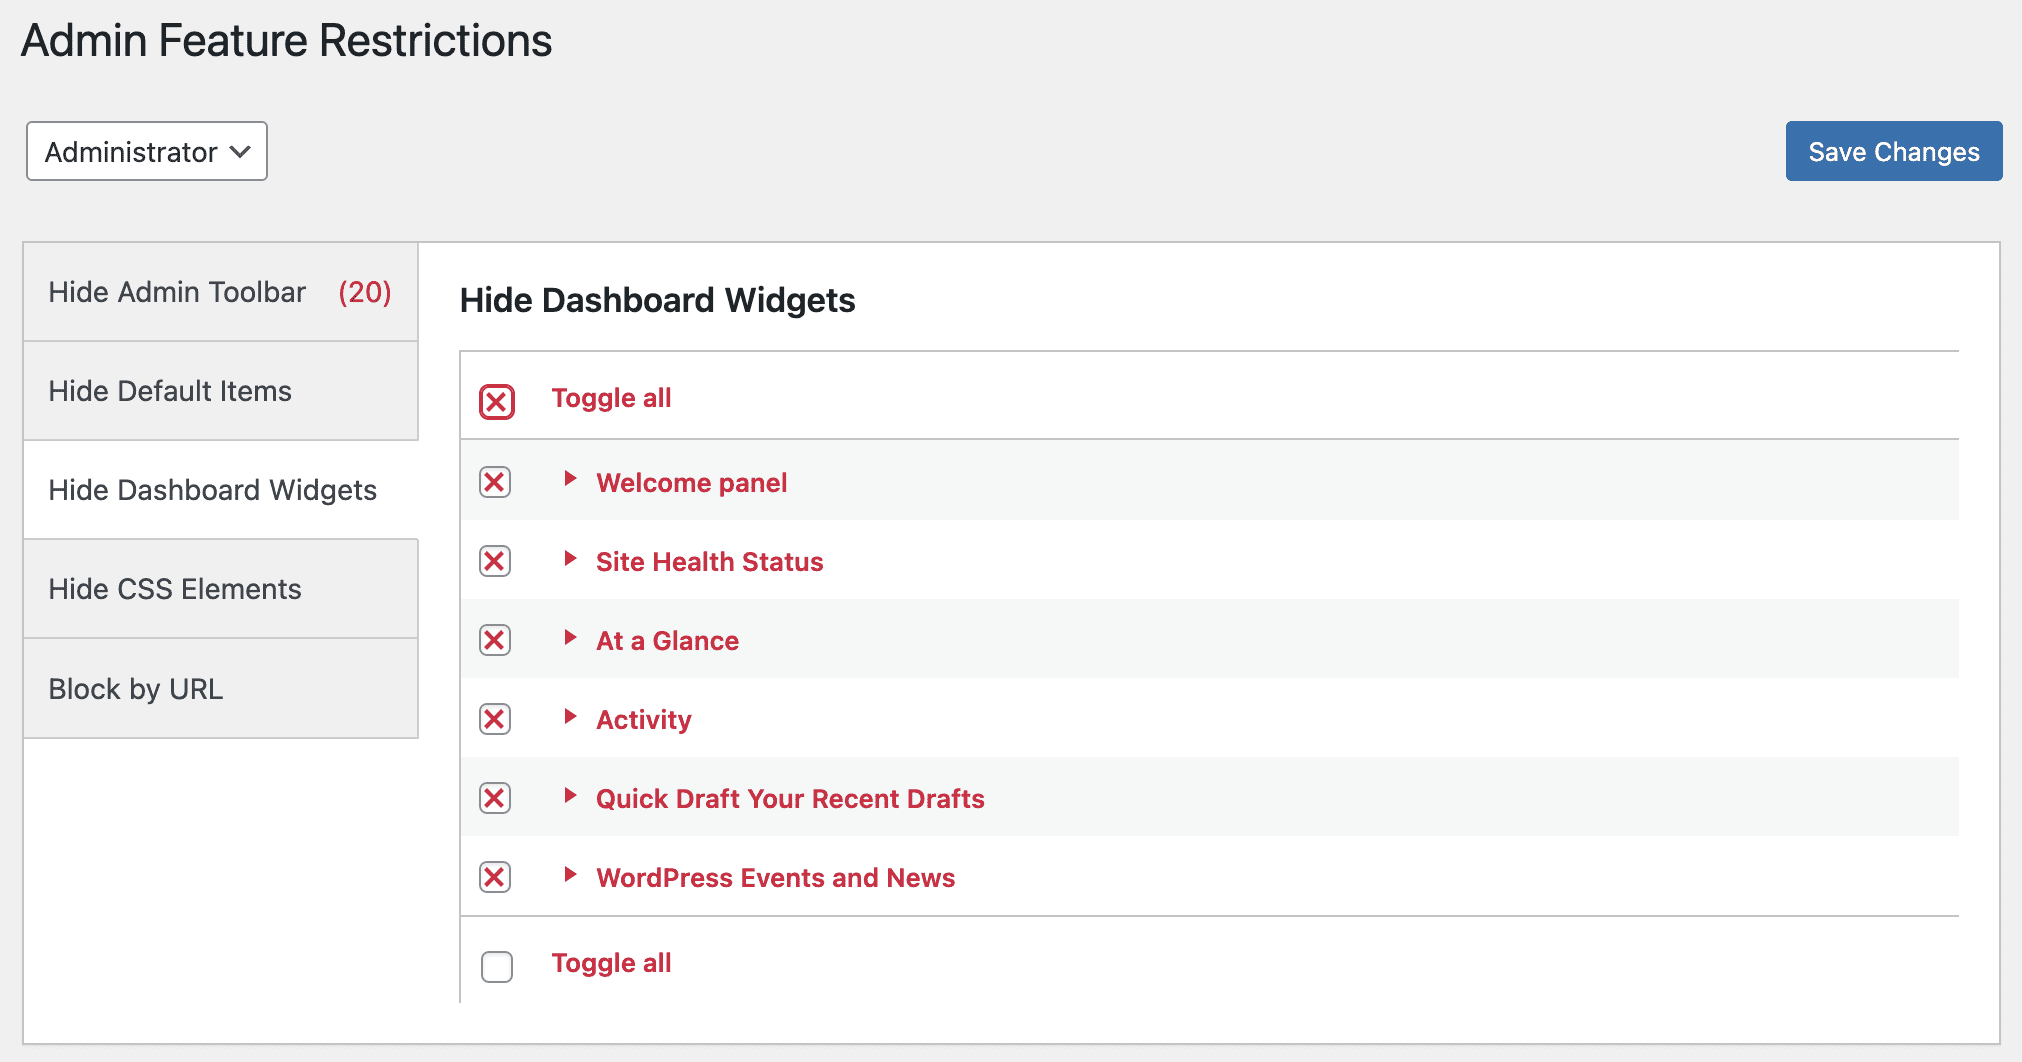
The first part of the screen covers the “Admin Toolbar” feature in WordPress, however, you can control other areas of WordPress too. For example, click the “Hide Dashboard Widgets” tab rand you can also block access to dashboard widgets:
Examples of Using Admin Features #
- In the screenshot below, I’ve added a red X to all the boxes:
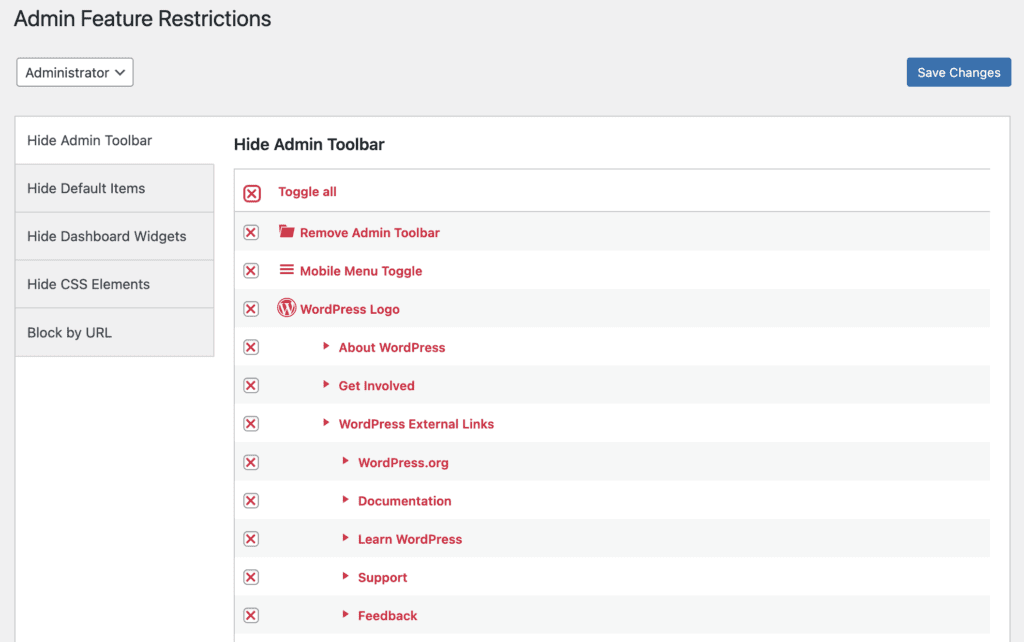
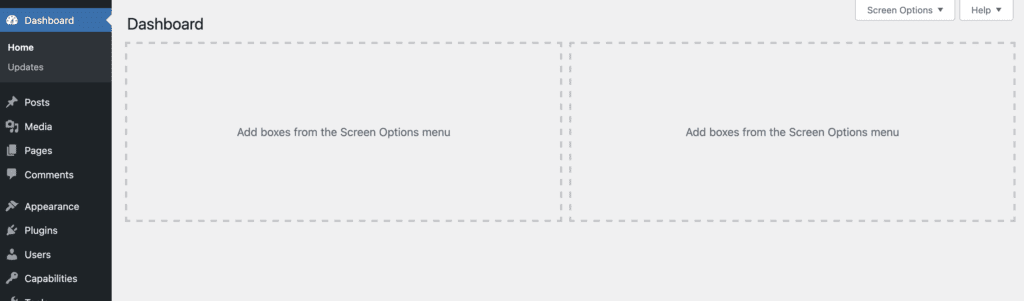
If these settings are saved, this next screenshot shows what we’ll see in the WordPress admin area. The toolbar has completely disappeared:
We can also take a look at another option in “Admin Features” which allows you to hide dashboard widgets. In this screenshot below, all the dashboard widgets have red Xs.
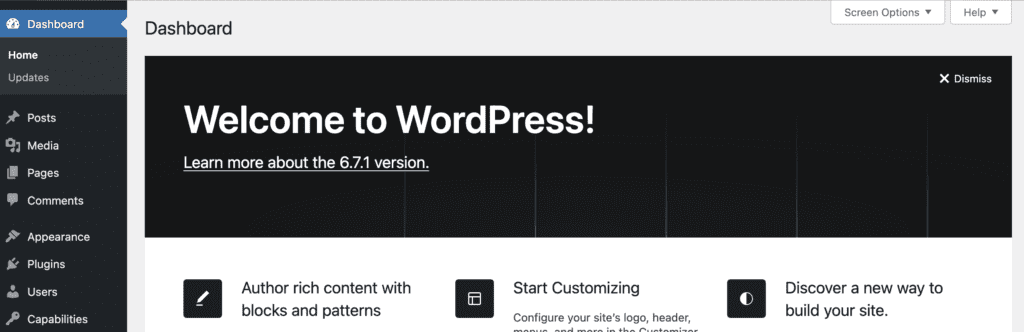
The settings in the screenshot below will produce this on your WordPress dashboard. All your dashboard widgets are hidden.