The Auto Insert Blocks feature is available in the PublishPress Blocks plugin.
This feature allows you to automatically insert reusable blocks into posts. You can choose to insert your blocks according position, categories, tags, and other criteria.
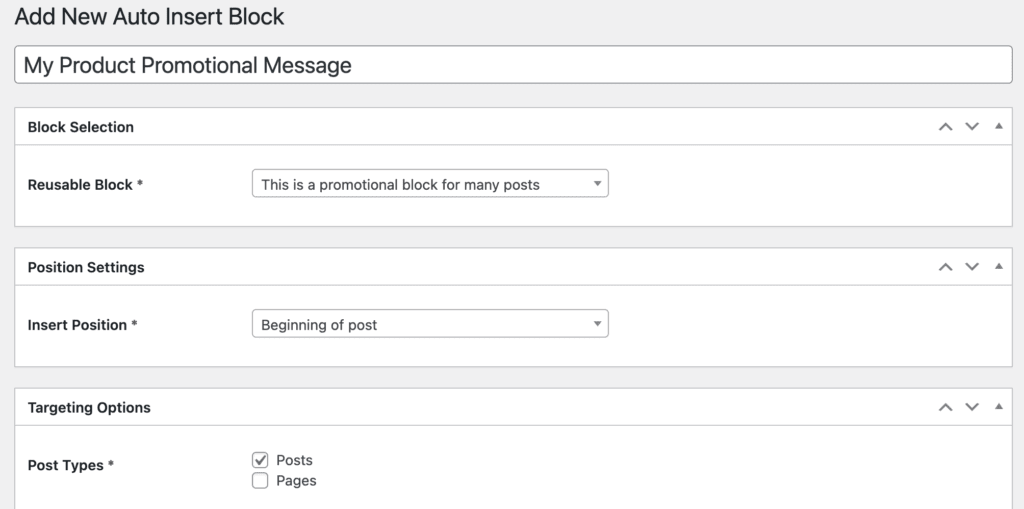
In the screenshot below, there are three key choices:
- Reusable Block: The block inserted is called “This is a promotional block for many posts”.
- Insert Position: Beginning of the post
- Post Types: Posts
So in this example, the block called “This is a promotional block for many posts” will be added before the start of all the Posts on this site.
There are multiple ways you can choose to target your reusable blocks. In this next part of the guide, we’ll explain these different options.
Insert Position #
This feature allows you choose where your reusable block will appear inside each post. You can choose one of the following options.
General
- Beginning of post
- End of post
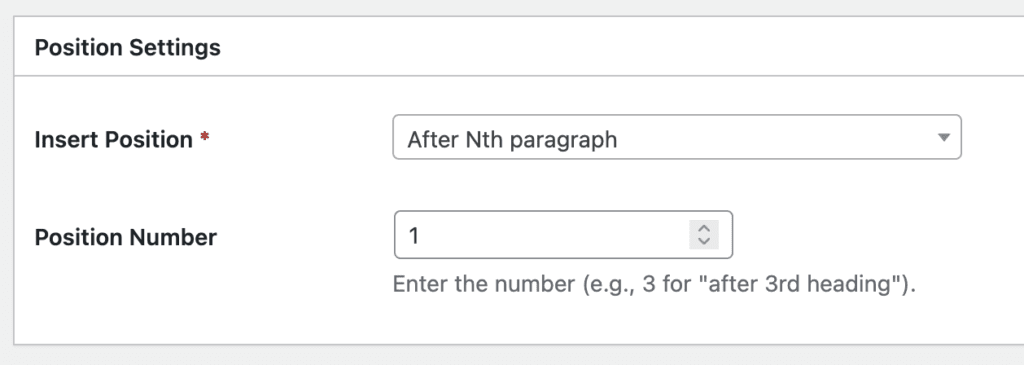
Paragraph
- After Nth paragraph
- Before Nth paragraph
If you choose this option you will also see a “Position Number” option. So if you choose “After Nth paragraph” and also enter “4”, your block will appear after the fourth paragraph.
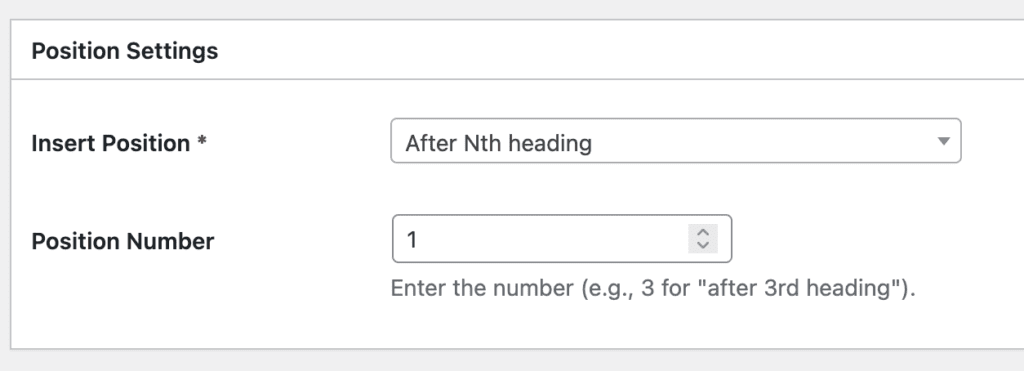
Heading
- After Nth heading
- Before Nth heading
If you choose this option you will also see a “Position Number” option. So if you choose “Before Nth heading” and also enter “3”, your block will appear before the third heading.
Any block
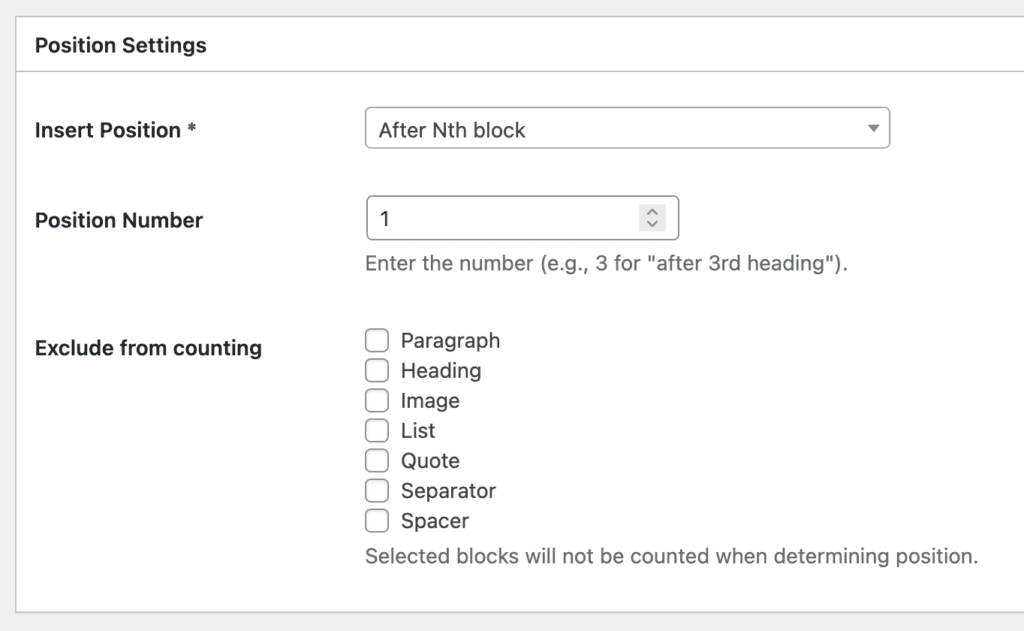
- After Nth block
- Before Nth block
If you choose this option you will also see a “Position Number” option. So if you choose “After Nth block” and also enter “10”, your block will appear before the tenth block. There is also an “Exclude from counting” option to avoid some counting some types of blocks when determining the final position.
Specific block
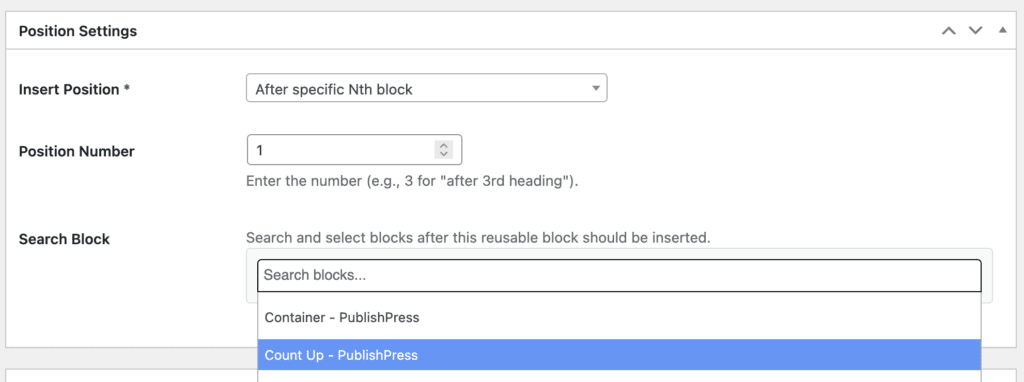
- After Nth specific block
- Before Nth specific block
If you choose this option you will also see a “Position Number” option. So if you choose “After specific Nth block” and also enter “5”, your block will appear before the fifth use of the block you choose. Using the “Search Block” option you can use any block as the anchor for your block placement.
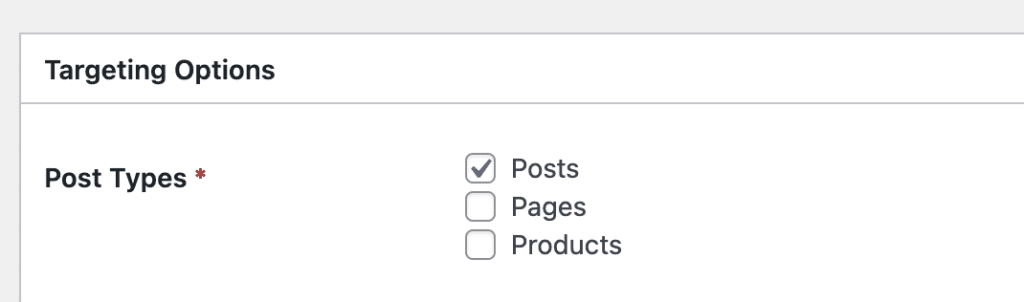
Post Types #
This option allows you to target specific post types to display your blocks. The Free version of PublishPress Blocks allows blocks to be inserted to Posts. The Pro version of PublishPress Blocks supports more post types.
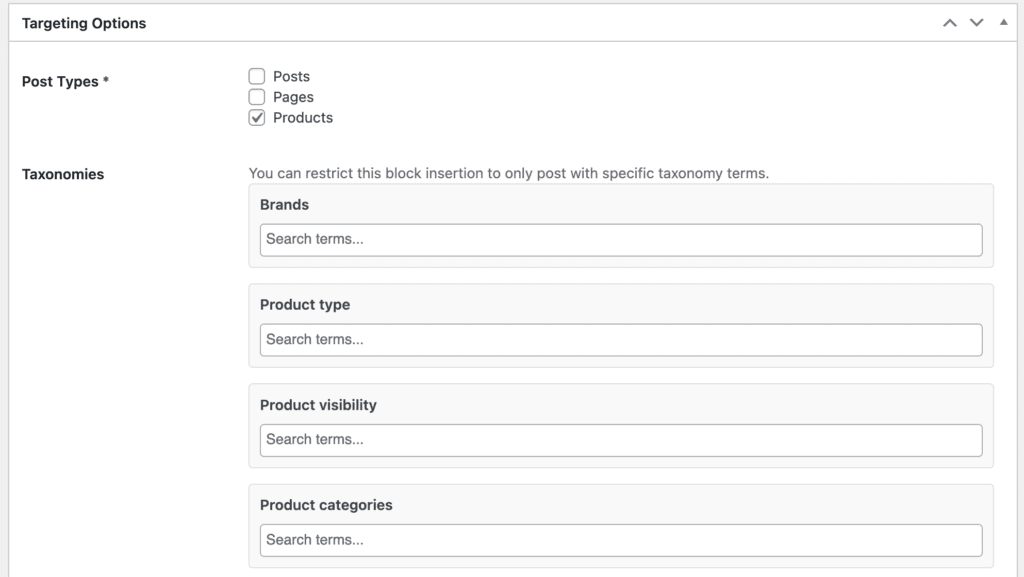
Taxonomies #
This feature requires the Pro version of the PublishPress Blocks plugin.
This option allows you to insert your block only on posts that have a specific taxonomy term attached.
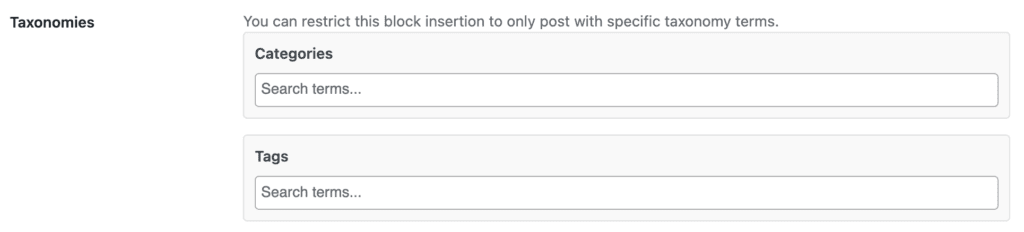
The list of taxonomy terms will update automatically, based on the choices made in the “Post Types” field. So if you’re using WooCommerce, select “Products” in the “Post Types” field and you will then see the WooCommerce-specific taxonomies, as in this screenshot below.
Authors #
This feature requires the Pro version of the PublishPress Blocks plugin.
This option allows you to insert your block only on posts that were written by a specific author.

Post Created Months / Years #
This feature requires the Pro version of the PublishPress Blocks plugin.
This option allows you to insert your block only on posts that were created in a specific month or year.

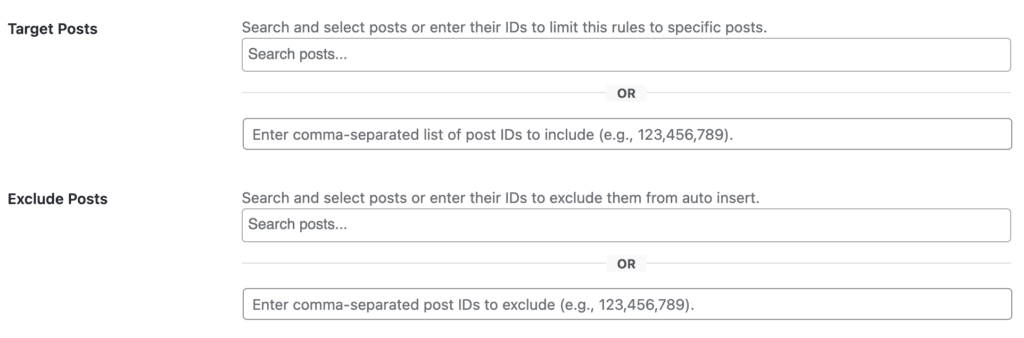
Target or Exclude Posts #
This feature requires the Pro version of the PublishPress Blocks plugin.
This option allows you to insert your block only on specific posts. You can select the fields in the “Target Posts” fields. You can take the opposite approach and choose to exclude specific posts using the “Exclude Posts” feature. The list of available posts will update automatically, based on the choices made in the “Post Types” field.