The Testimonial block in the PublishPress Blocks plugin allows you to add clients testimonials to Gutenberg. You can add testimonials using columns or a slider. You can show the avatar, name, job position and description for each testimonial.
How to add Testimonial blocks #
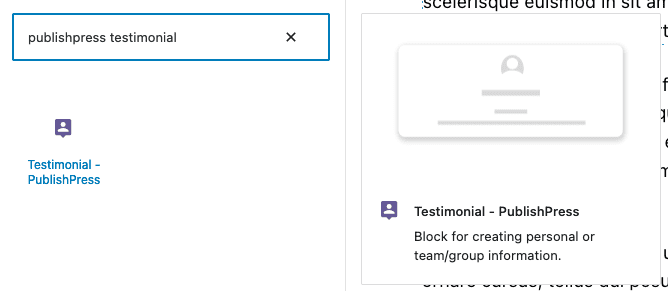
You can insert a Testimonial block into your content by clicking the “Testimonial – PublishPress” button in the PublishPress Blocks category.
Settings for the PublishPress Testimonial block #
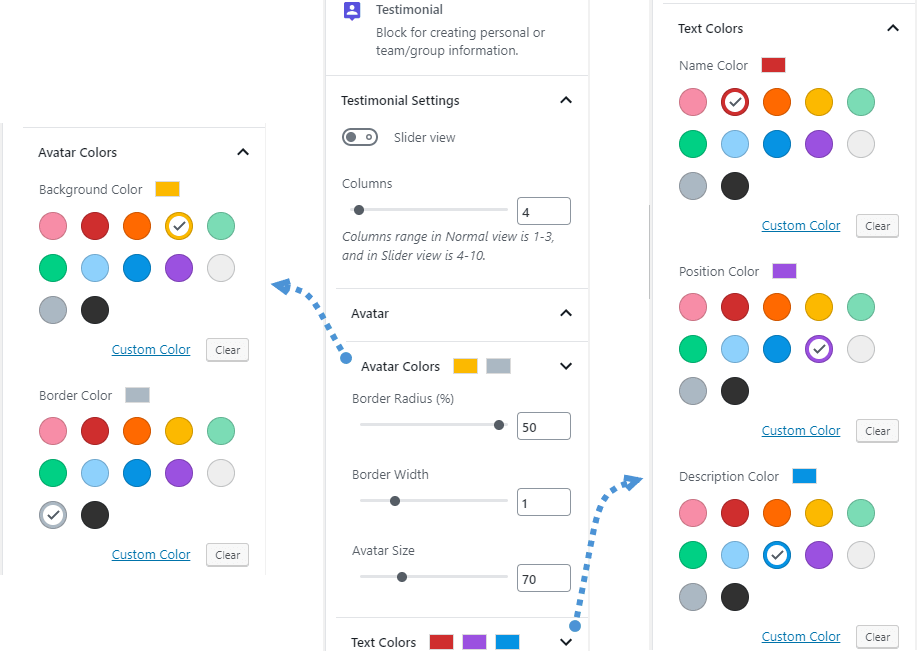
In the right panel you can adjust the settings for the Testimonial. When the Slider view option is disable, here is the settings:
- Columns: Columns range in Normal view is 1-3, and in Slider view is 4-10.
- Avatar: Avatar size, background color, and border settings, which include color, radius and width
- Text Colors:
- Name Color
- Position Color
- Description Color
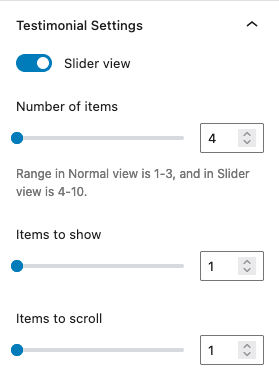
When you enable Slider view option, some additional options for slider will be appear:
- Number of items
- Items to show
- Items to scroll
- Center mode
- Pause on hover
- Auto play
- Autoplay speed (ms)
- Infinite Loop
- Transition speed (ms)
- Show dots
- Show arrows
- Arrow size

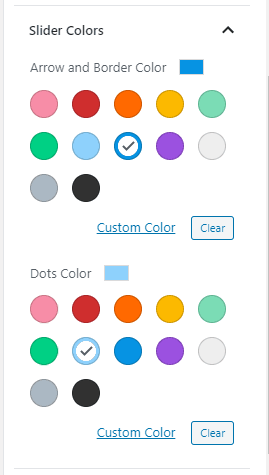
Slider Colors:
- Arrow and Border color
- Dots color
Change name, position and description size (Pro) #
This feature requires the Pro version of the PublishPress Blocks plugin.
This feature is available in the Pro version of PublishPress Blocks. You can change the size for the name, position and description.

- Go to Content size panel
- Set a custom font size for the name, position and description
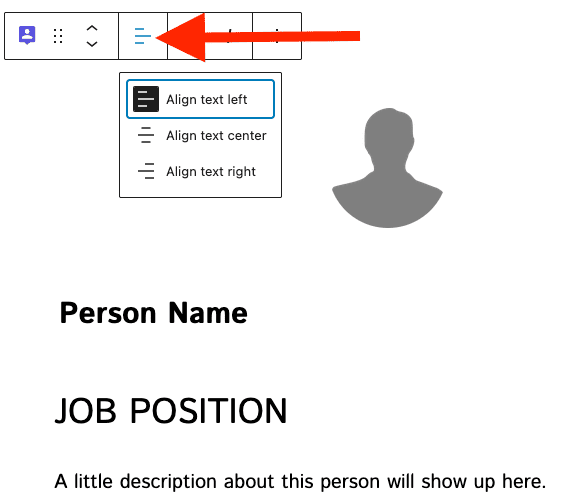
Change text alignment (Pro) #
This feature requires the Pro version of the PublishPress Blocks plugin.
This feature is available in the Pro version of PublishPress Blocks. You can change the text alignment through the toolbar align feature. Please note the avatar position can be changed through Avatar settings > Avatar > Avatar position.
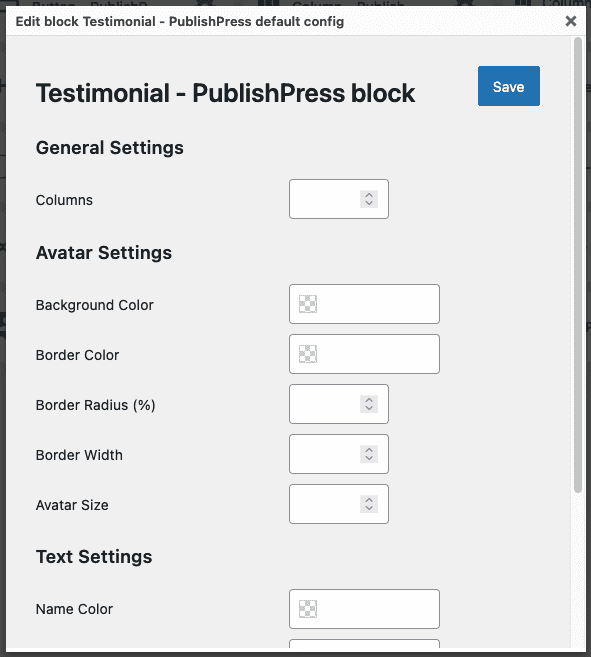
Default settings for Testimonial blocks #
You can set default options for every PublishPress Testimonial block added to your site. This is possible with the PublishPress Blocks default configuration feature and it allows you to create a consistent look-and-feel for all your testimonials.
- Go to Blocks in your WordPress admin menu, then PublishPress Blocks.
- Click Testimonial settings icon.

- Please note the avatar position can be changed through Avatar settings > Avatar > Avatar position.Please note the avatar position can be changed through Avatar settings > Avatar > Avatar position.Please note the avatar position can be changed through Avatar settings > Avatar > Avatar position.Adjust the default settings and save.