
We recommend Poedit as an easy way to translate PublishPress plugins. Here's how the translation process works:
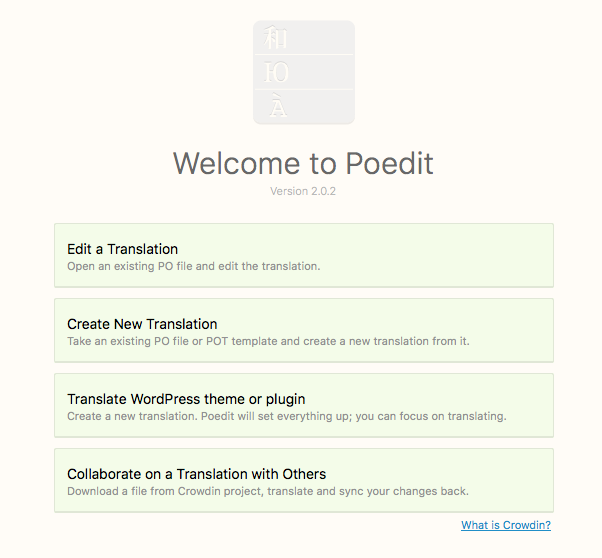
Get started with Poedit #
- Download Poedit from poedit.net
- Run the installation script for Poedit on your desktop. Click “Create New Translation”.
Open a PublishPress plugin #
- Download a PublishPress plugin to your desktop.
- Open the folder and look for the /languages/ folder. For example, this image shows the folder structure for the “PublishPress Revisions” plugin.

- Inside the /languages/ folder you will find .po files. This is the PublishPress Revisions plugin:

- We are going to use the existing .po files as the starting point for our work, so elect one of the existing .po files from the /languages/ folder.
- Use the “Language for your translation” dropdown to choose your language:

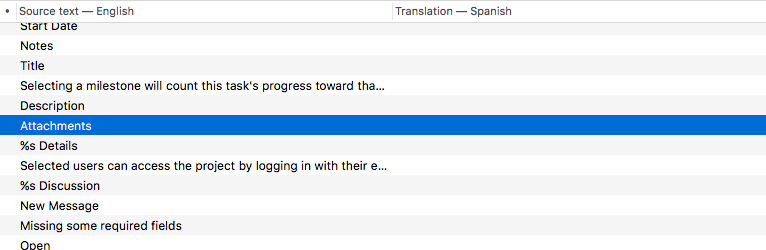
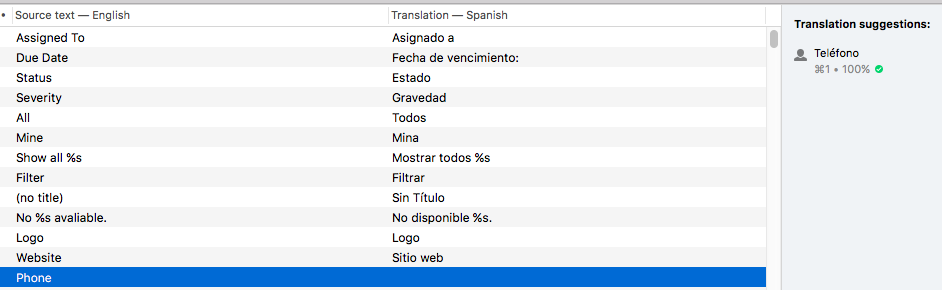
- You will see a list of all the English translations. On the right-hand side there's a blank space waiting for your translation:
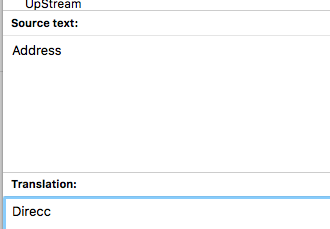
- At the bottom of the screen, you can enter your translation text into the “Translation” field:
- PoEdit is a particularly useful tool because it will automatically give you translation suggestions:
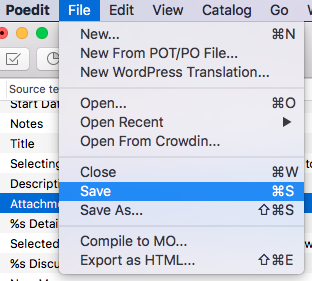
- When you're finished, click “Save” in Poedit:
- Poedit will export both a .po and an .mo file for you.
Upload the language files #
- Place these in the /wp-content/languages/your-plugin-name/ folder. Create this folder if it doesn't exist.
- For the files, use the naming structure you can see below. You can find a list of locale identifiers here. Here are some examples for Italian, Spanish and French.
- publishpress-it_IT.po
- publishpress-es_ES.po
- publishpress-fr_FR.po
- If your site is running your language (in this case, Spanish), the PublishPress plugin will automatically detect your new files and use your language.