
How to Control Roles and Permissions on a WordPress Multisite Network
If you run a WordPress multisite network, it can be helpful to standardize your setup across the various sites.
In this guide, I'll show you how to control user roles and permissions across the network. We'll use the PublishPress Capabilities plugin.
Click here to see the differences between WordPress permissions on a single site and a network.
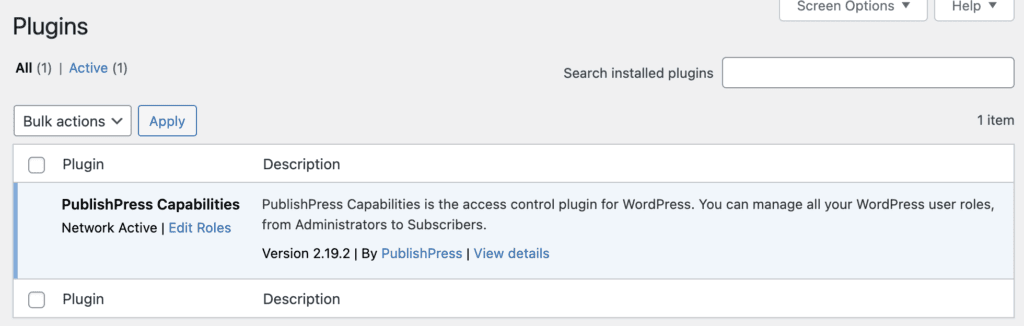
- Install the PublishPress Capabilities plugin on your main network site.
- Set the plugin to “Network Activate”. This means that the plugin will now be available for all the sites of your multisite network.
- On your main site, go to “Capabilities” in the WordPress admin menu.
- On this screen, you can use the full power of the plugin to create roles, choose permissions and otherwise configure the user setup on your site.
- The key settings for multisites are in the right sidebar. You'll see “include in new sites” and “sync role to all sites now”. These settings will take effect when you click “Save Changes”. If you don't see these checkboxes, then you aren't on your main network site.
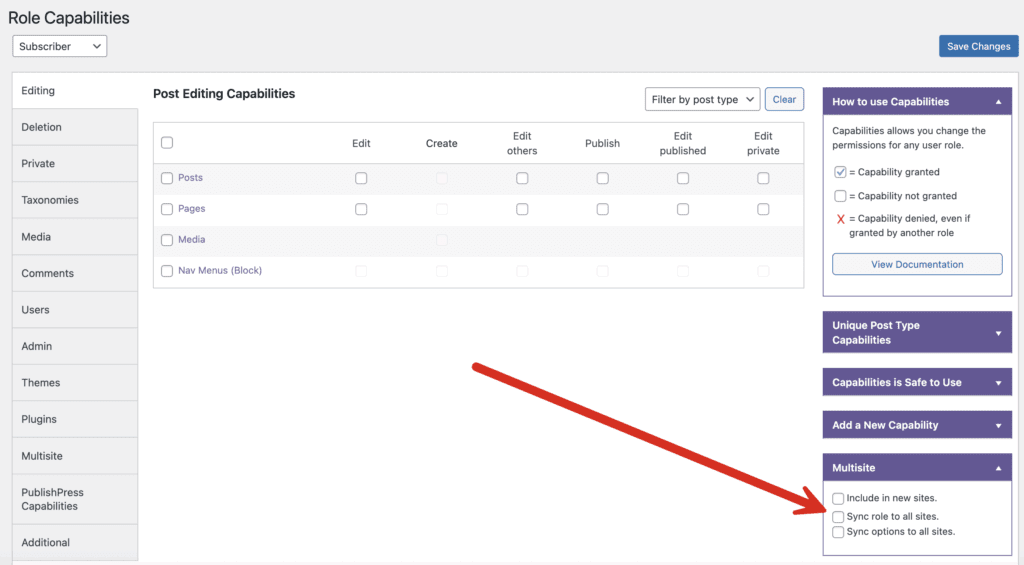
Table of Contents
What do these multisite settings do?
- Include in new sites: This will create the default settings for new sites created in the future. So if you create a new role called “Comments Moderator” and all new sites in your network will also have this role.
- Sync role to all sites: This will immediately sync this role and its capabilities to all the sites in your network.
- Sync options to all sites: This will immediately become the default settings for all the existing sites in your network. This will overwrite any existing settings, so be careful with this option. PublishPress Capabilities does have a backup feature.

The Best Plugin to Control Your WordPress Users
PublishPress Capabilities enables you to customize what users see in every area of WordPress from editing posts and pages to admin menus, profile pages.
