In some specific cases, when you are using the Echo Knowledge Base plugin and PublishPress Capabilities together you might find some submenus from Echo Knowledge Base are missing.
The problem arises because Echo Knowledge Base has extra capabilities that need to be added for users. You can resolve this menu issue by adding the extra capabilities from Echo Knowledge Base, which are:
- admin_eckb_access_manager_page
- admin_eckb_access_crud_users
- admin_eckb_access_frontend_editor_write
- admin_eckb_access_search_analytics_read
- admin_eckb_access_addons_news_read
- admin_eckb_access_crud_groups
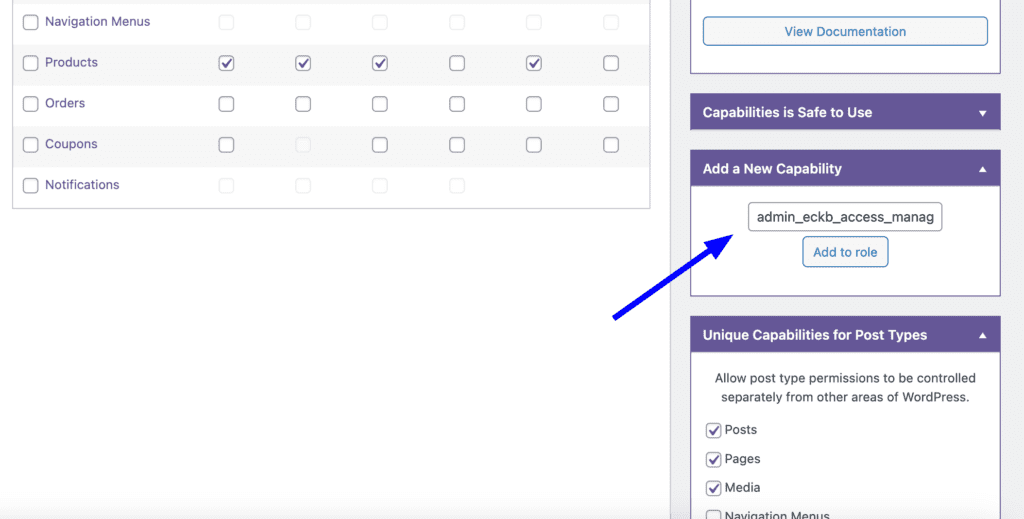
You can add those second capabilities in the right side of the “Capabilities” screen.
Note: It is crucial to start by adding the “admin_eckb_access_manager_page” capability first, followed by the other capabilities. Failure to do so may result in being locked out of the WordPress admin panel.